
By Tanja Jensen
You will need:
- Paper
- Glue
- Scissors Fabric of your choice – I’m using a thin leather scrap
- Thicker paper/cardstock
- A thin piece of metal for detailing (I’m using a 0.3mm thick sheet of brass); this can also be replaced with a small strip of fabric, ribbon, thread or other materials depending on the look you wish to achieve
- Ruler – optional, just to help cut out pieces in matching sizes
- Pliers or tweezers
I don’t know about you, but I am a big fan of notebooks, sketchbooks or anything book-like that invites you to doodle, jot down ideas or in general just write down important things you need to remember.
And just like you may have a couple of notebooks lying around in your home, having that odd-placed book here and there adds realism to any miniature room as well. So this month we’re making some quick and simple notebooks.
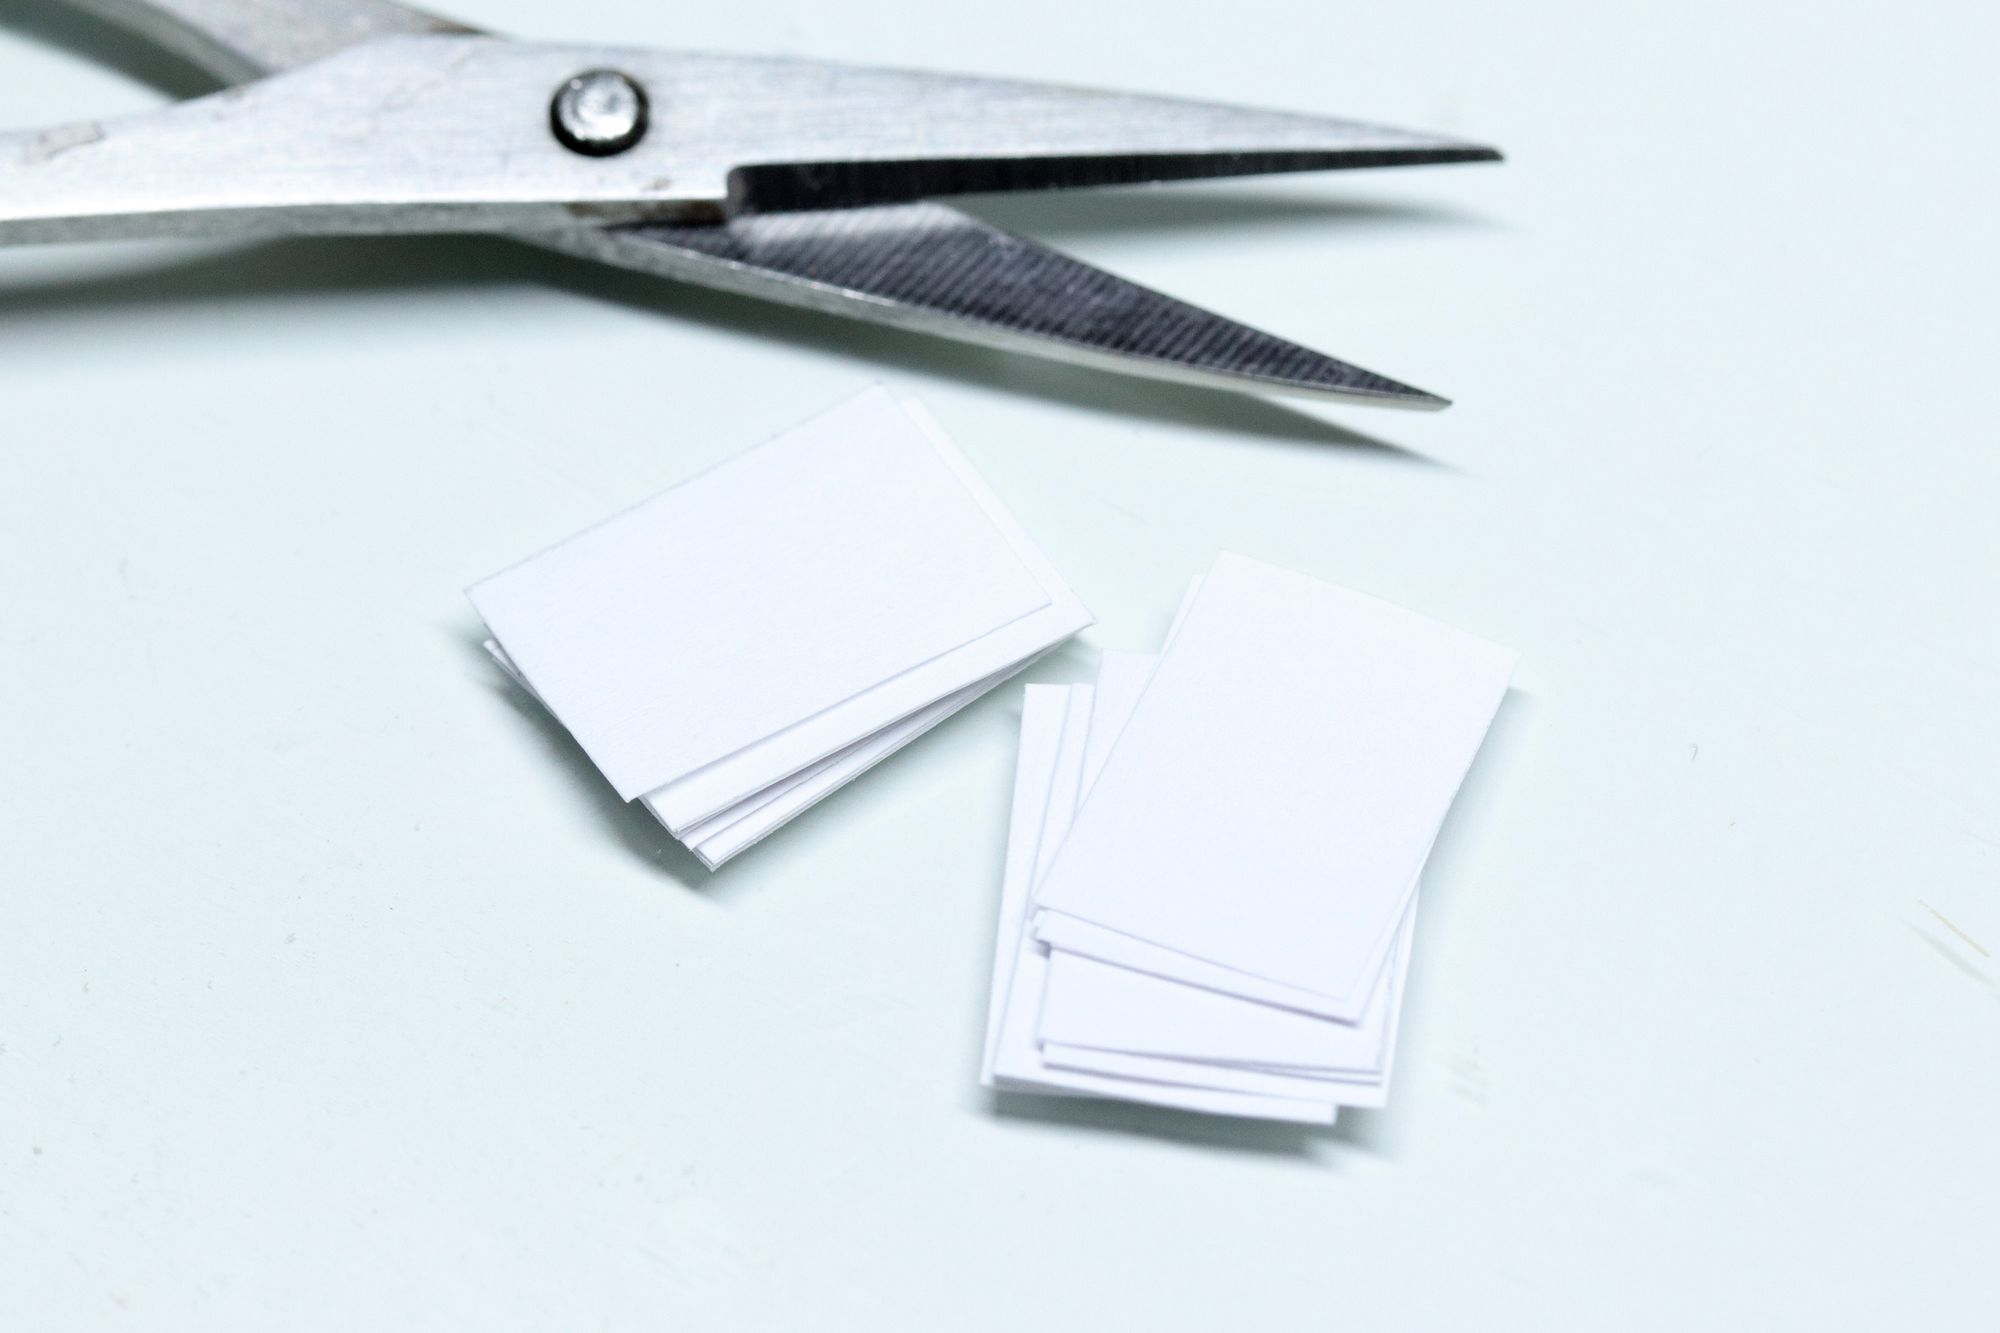
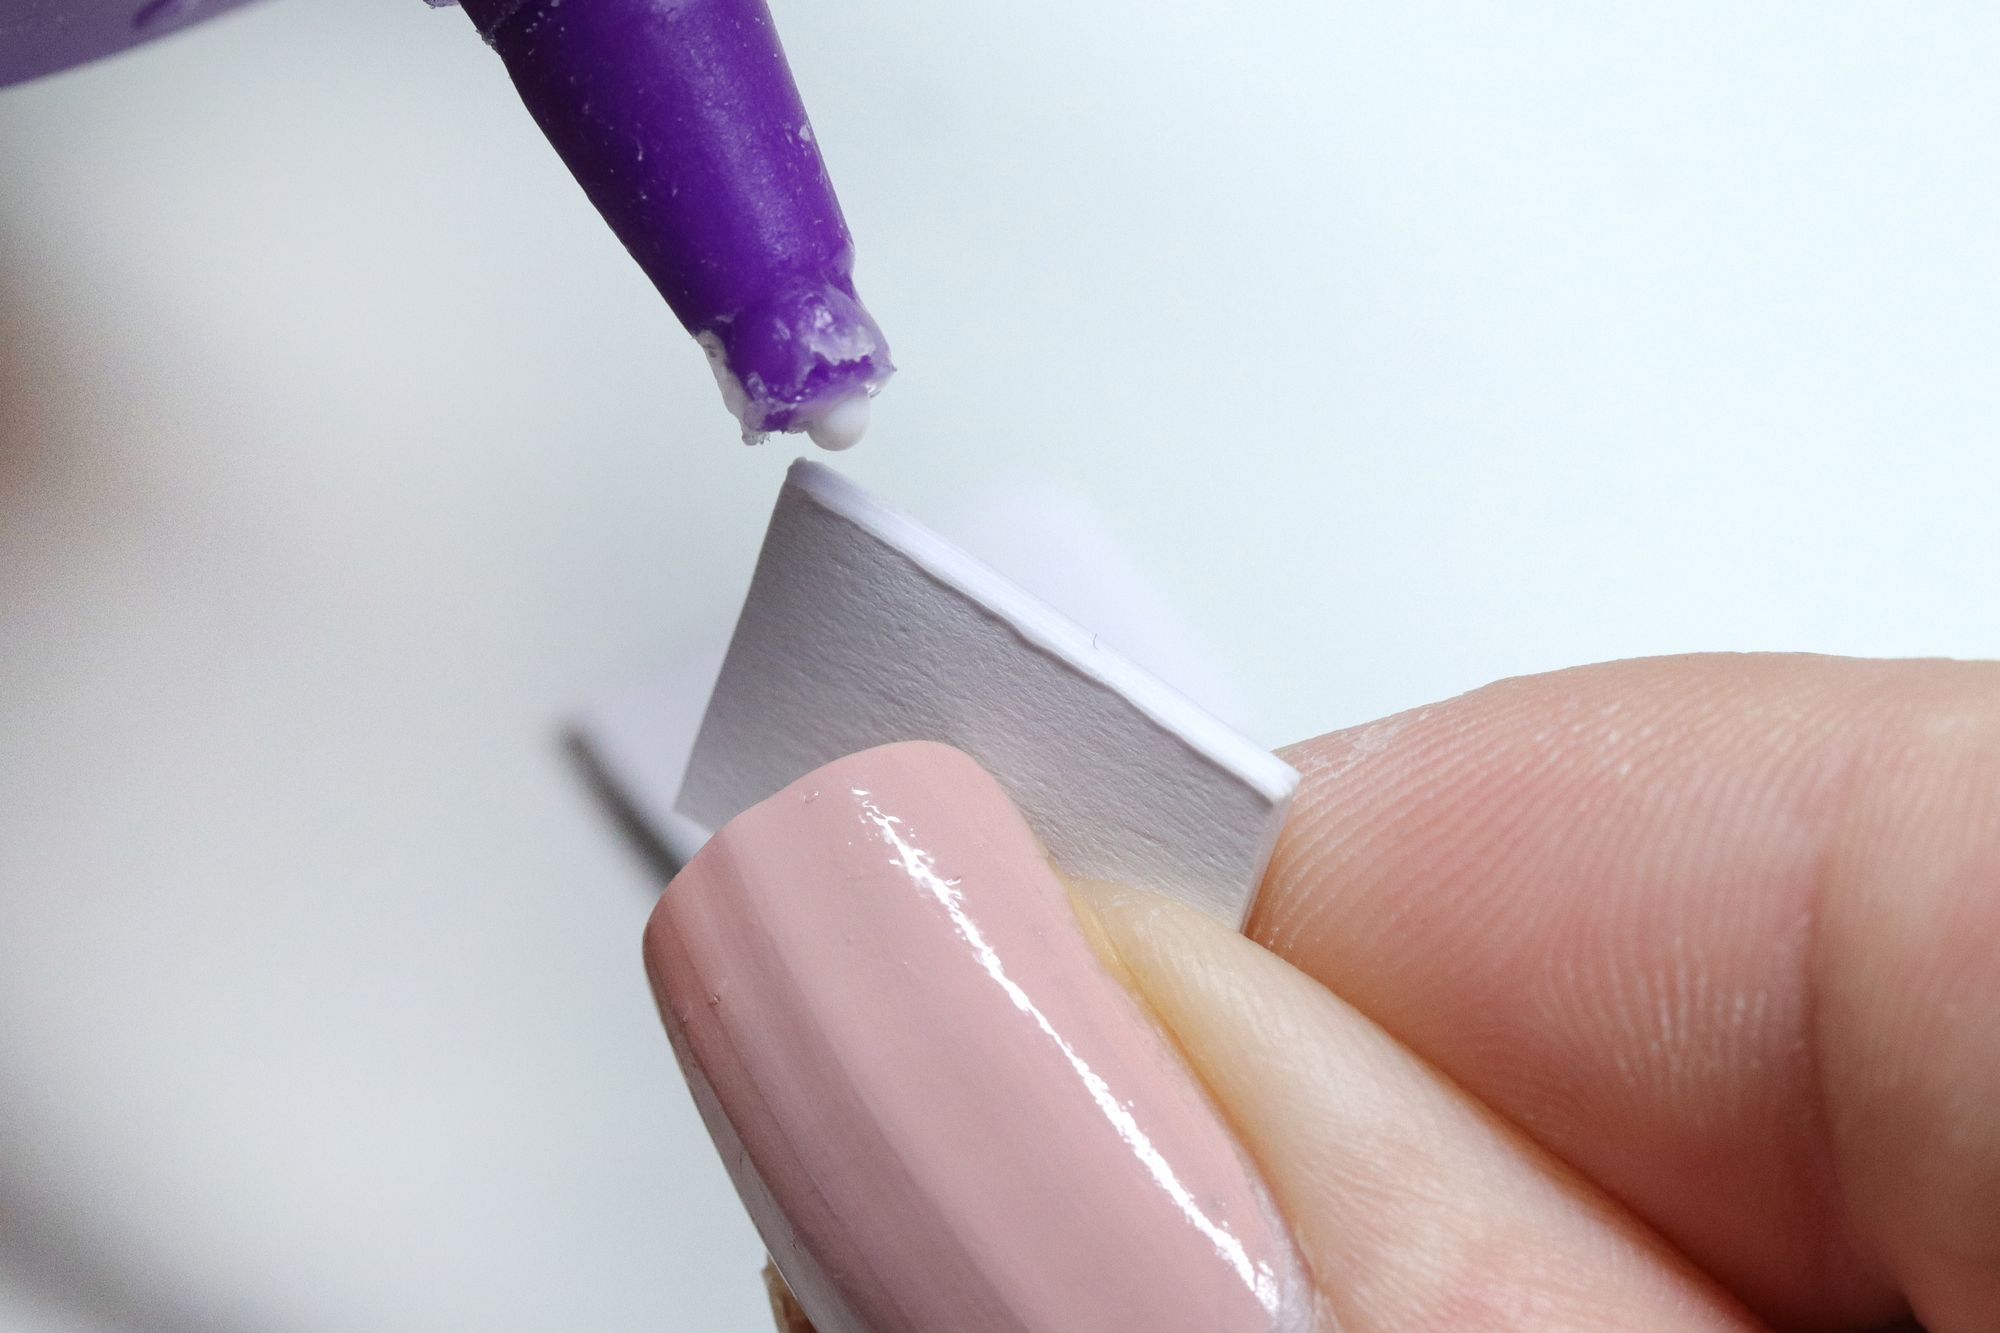
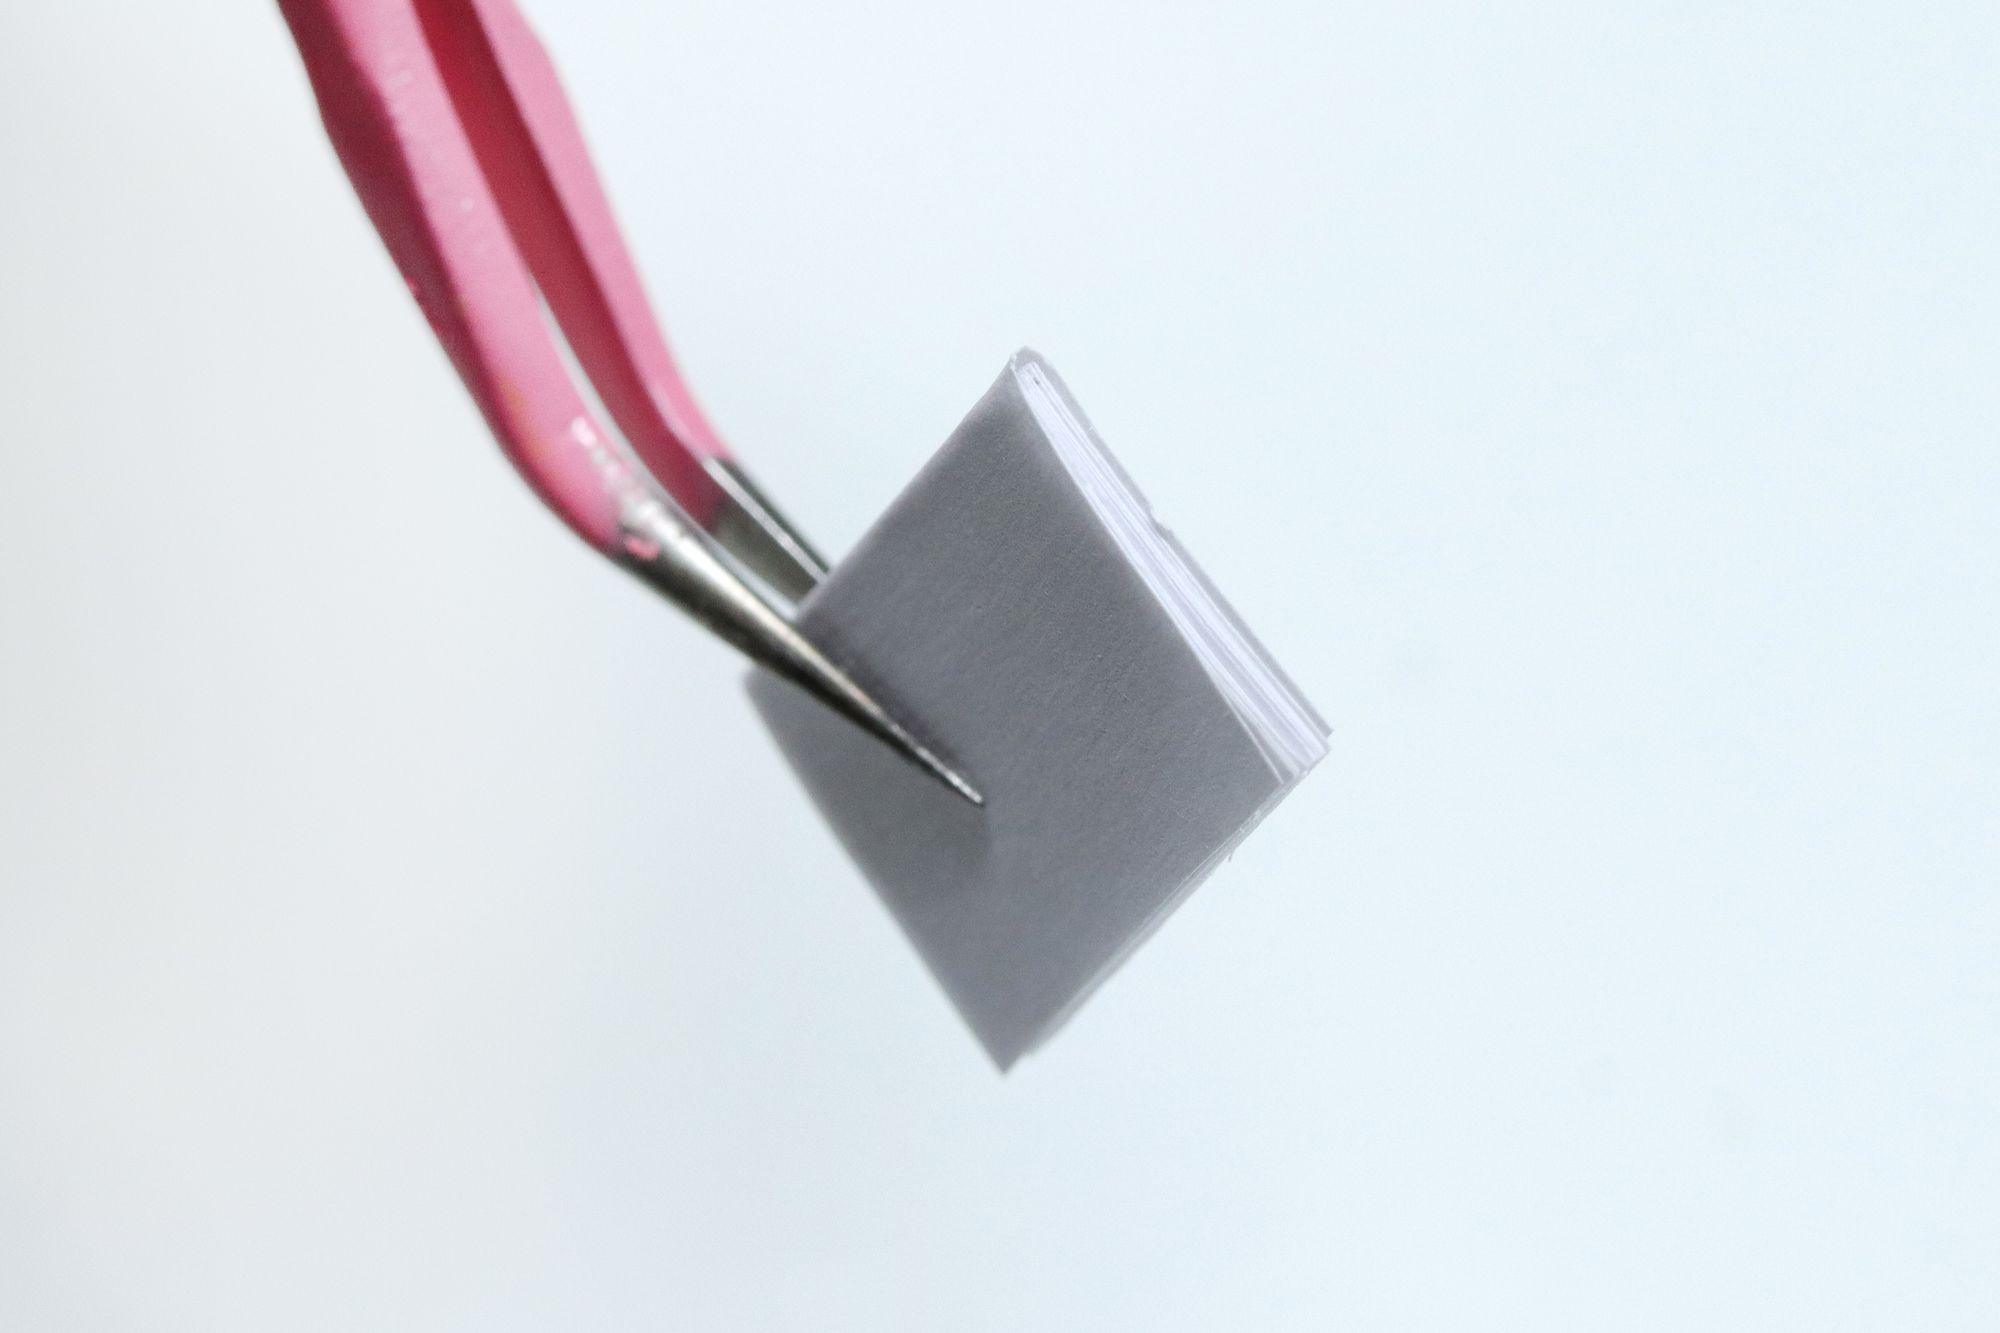
Step 1, 2, 3 and 4: First, take your paper and cut out as many pages as you’d like. These can really be any size; mine are 10mm by 15mm. Stack and hold the pages, then add glue to the spine and use your finger to help spread it out, making sure it grabs onto all the pages.
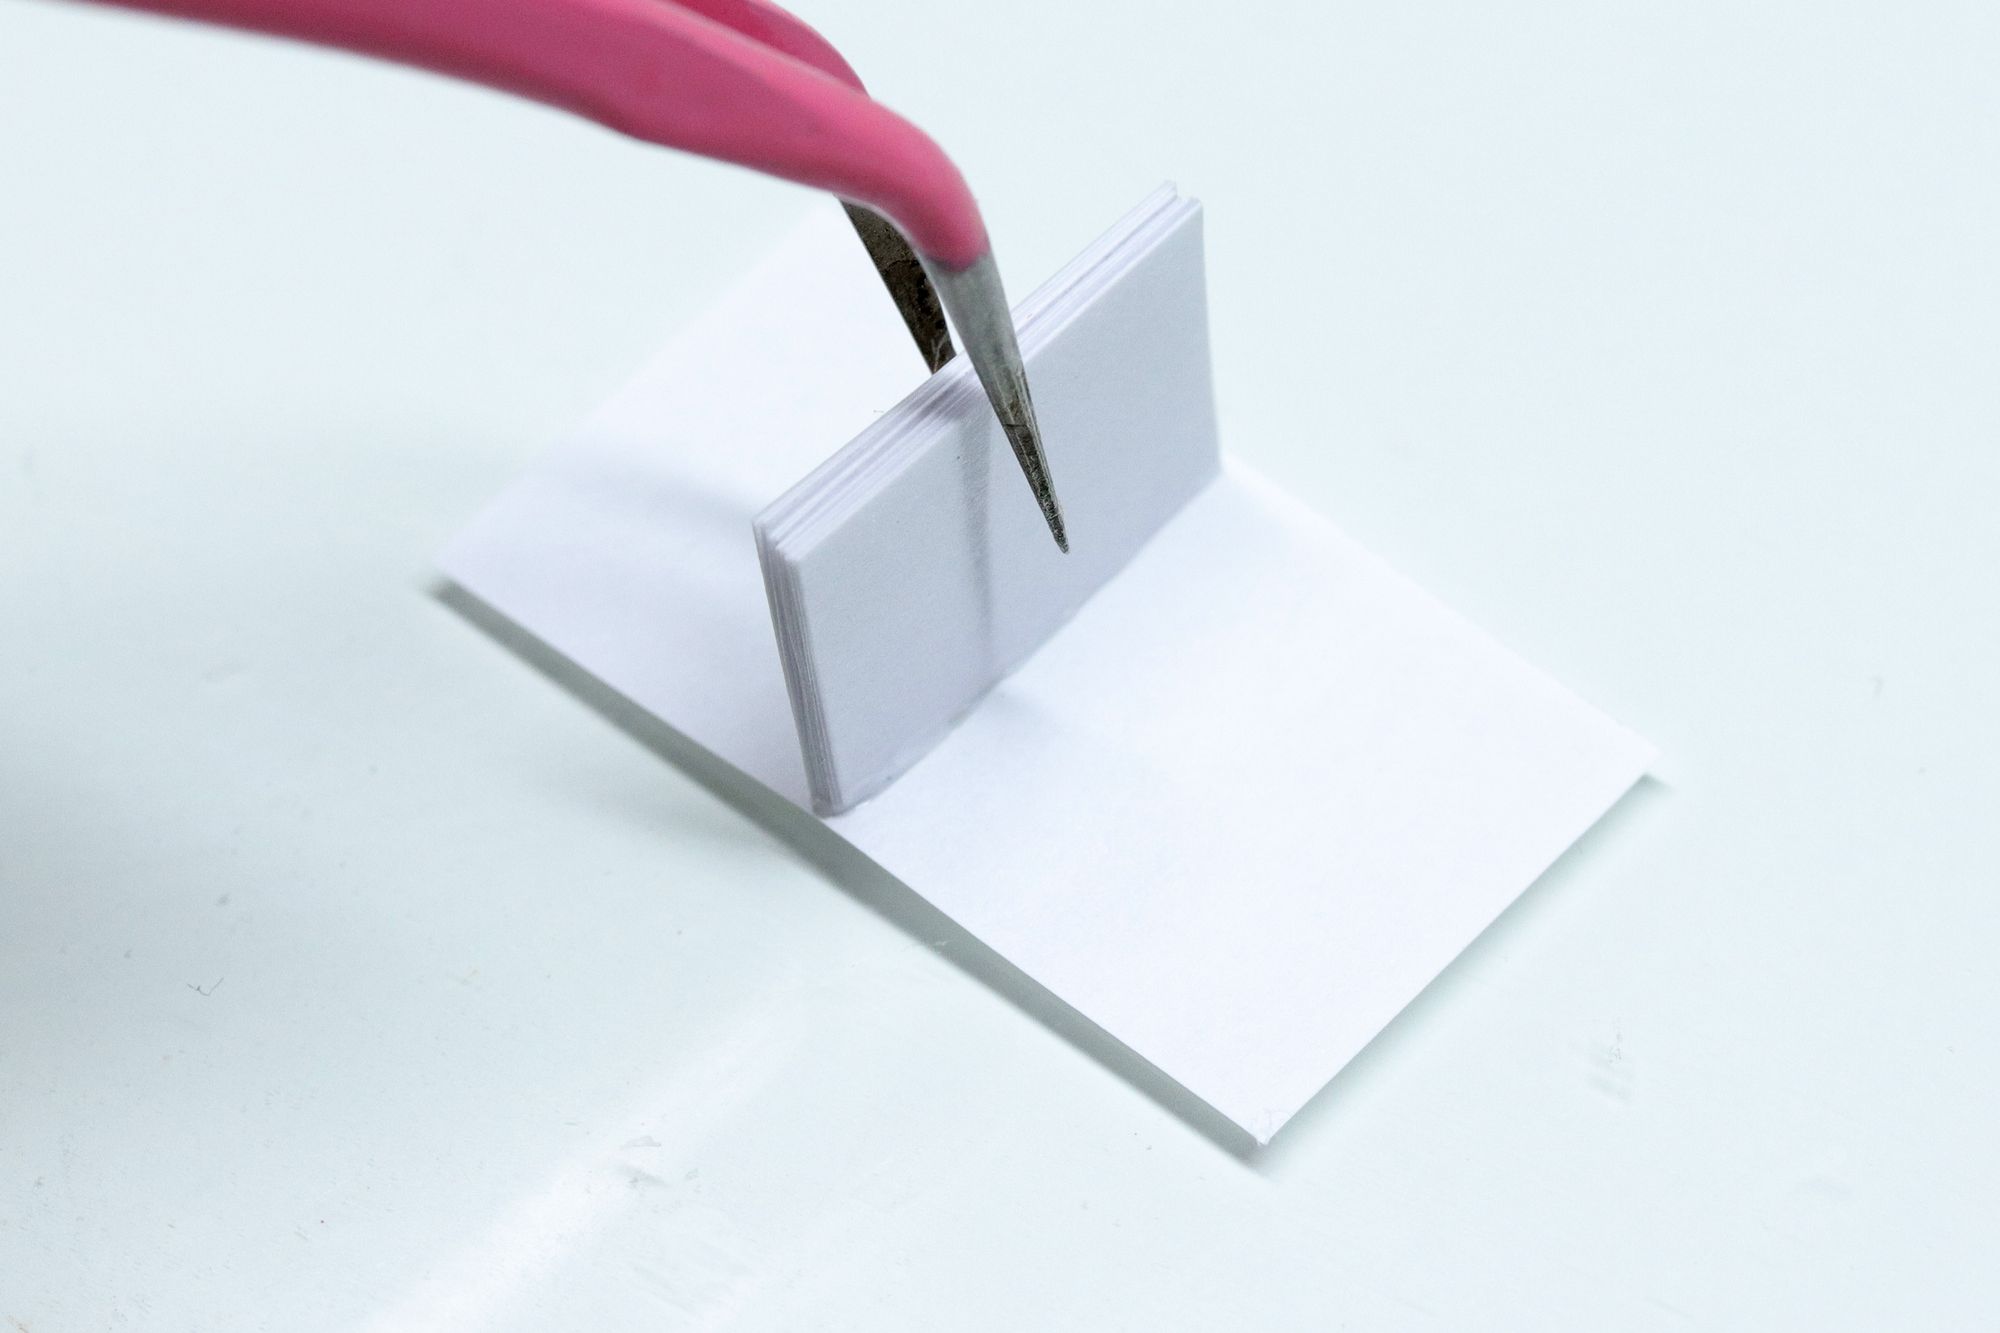
Glue the spine of the book onto another piece of paper that is large enough to cover the front and back as well.
You can create simple notebook for a school-themed miniature scene by stopping here. Just replace the last sheet of paper with one in a fun colour or print out a piece with a proper looking front/back.
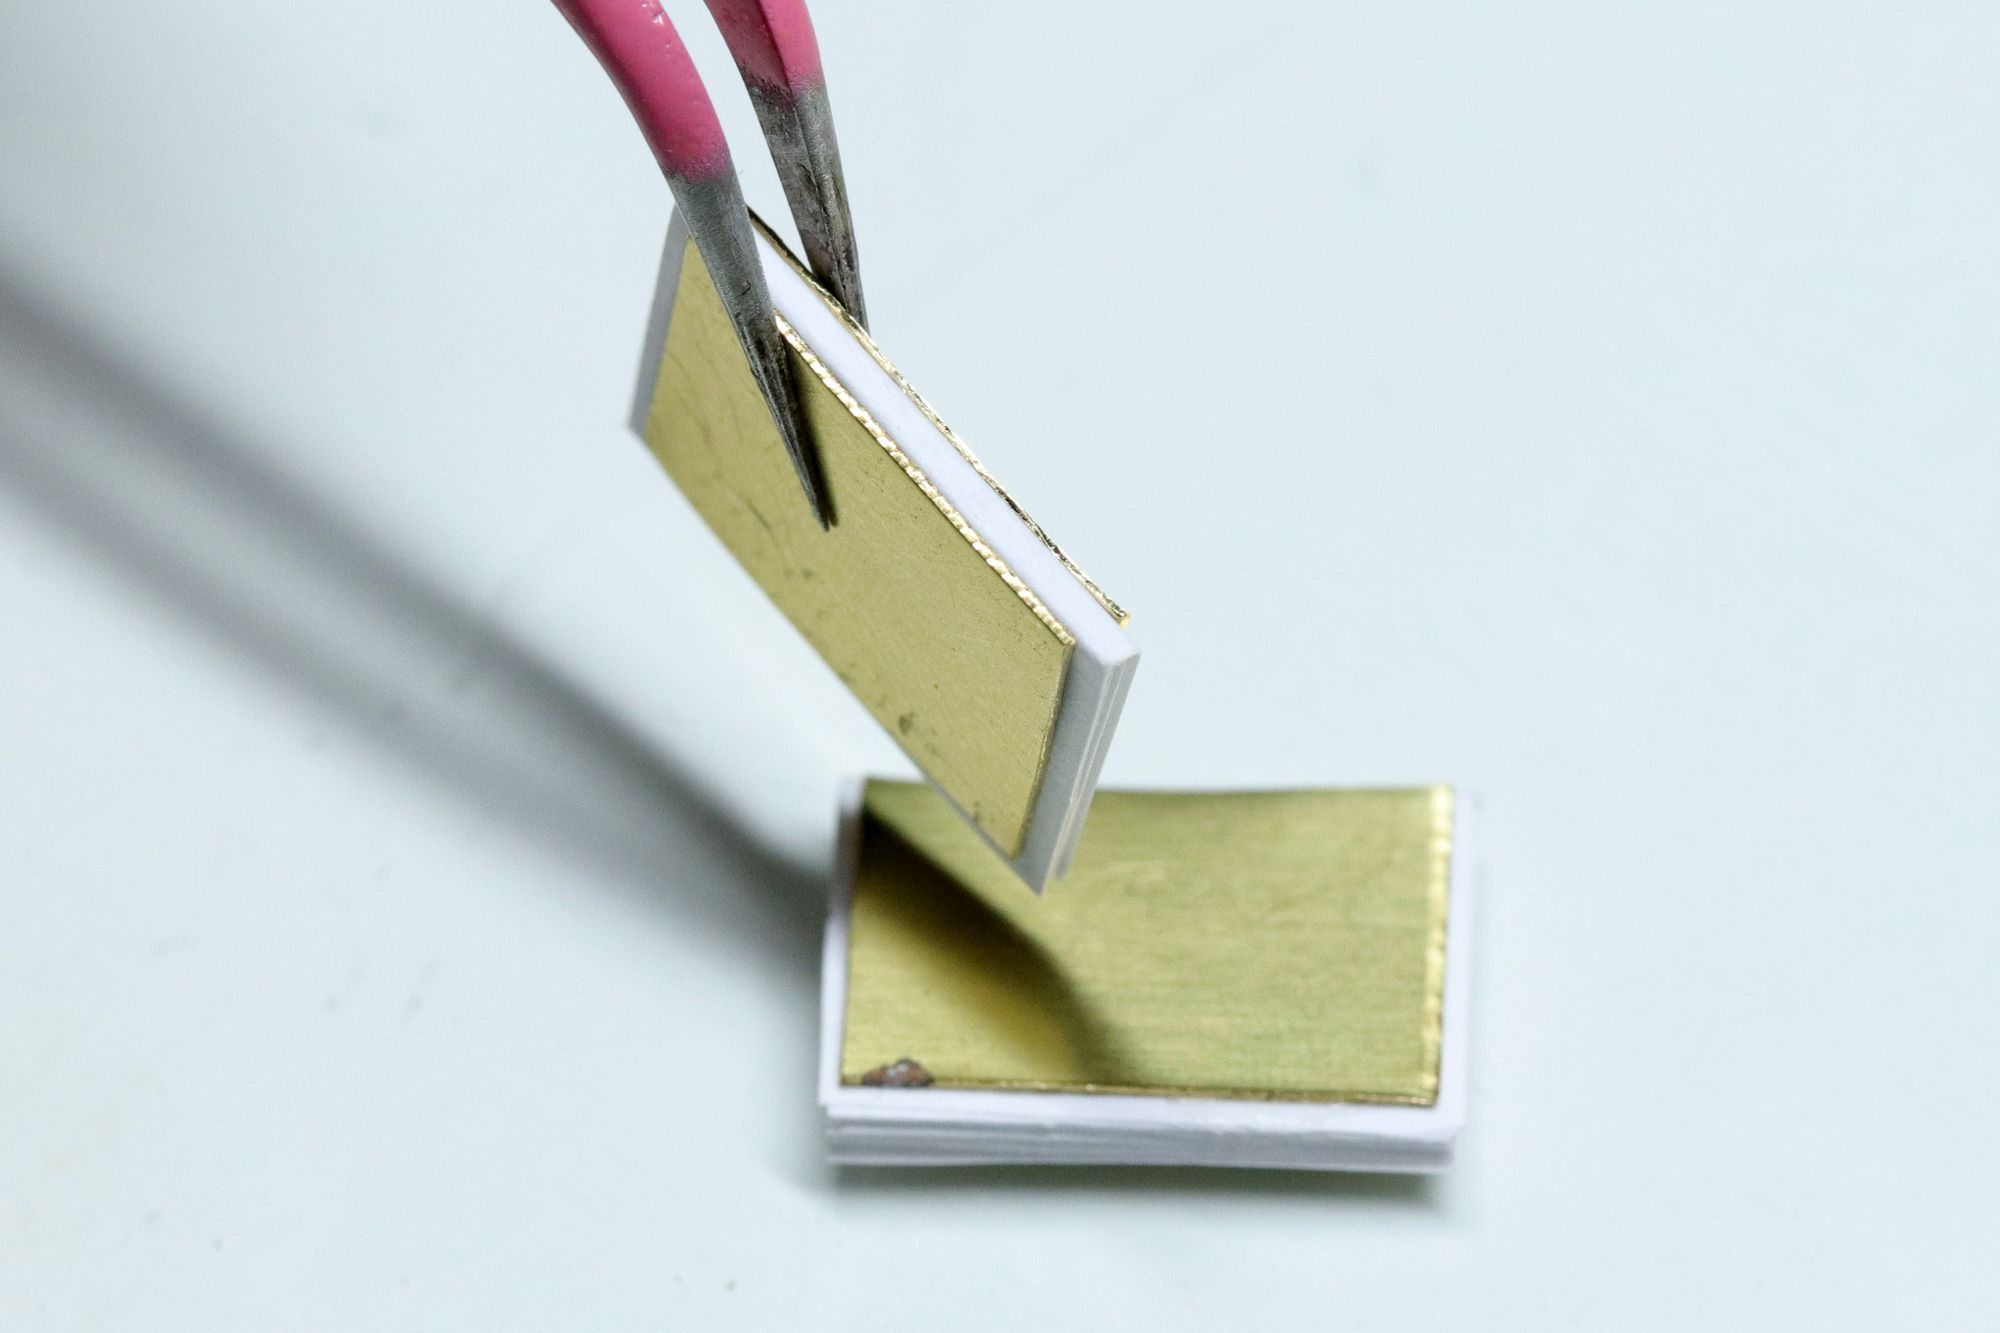
Steps 5 & 6: To add some strength to the cover, I glued a small rectangular piece of the brass sheet onto the front and back, leaving the spine untouched. Now, adding metal is a bit over the top, cardstock will do just fine. But, believe it or not, I have more metal sheets on hand than cardstock, so feel free to use what you have.
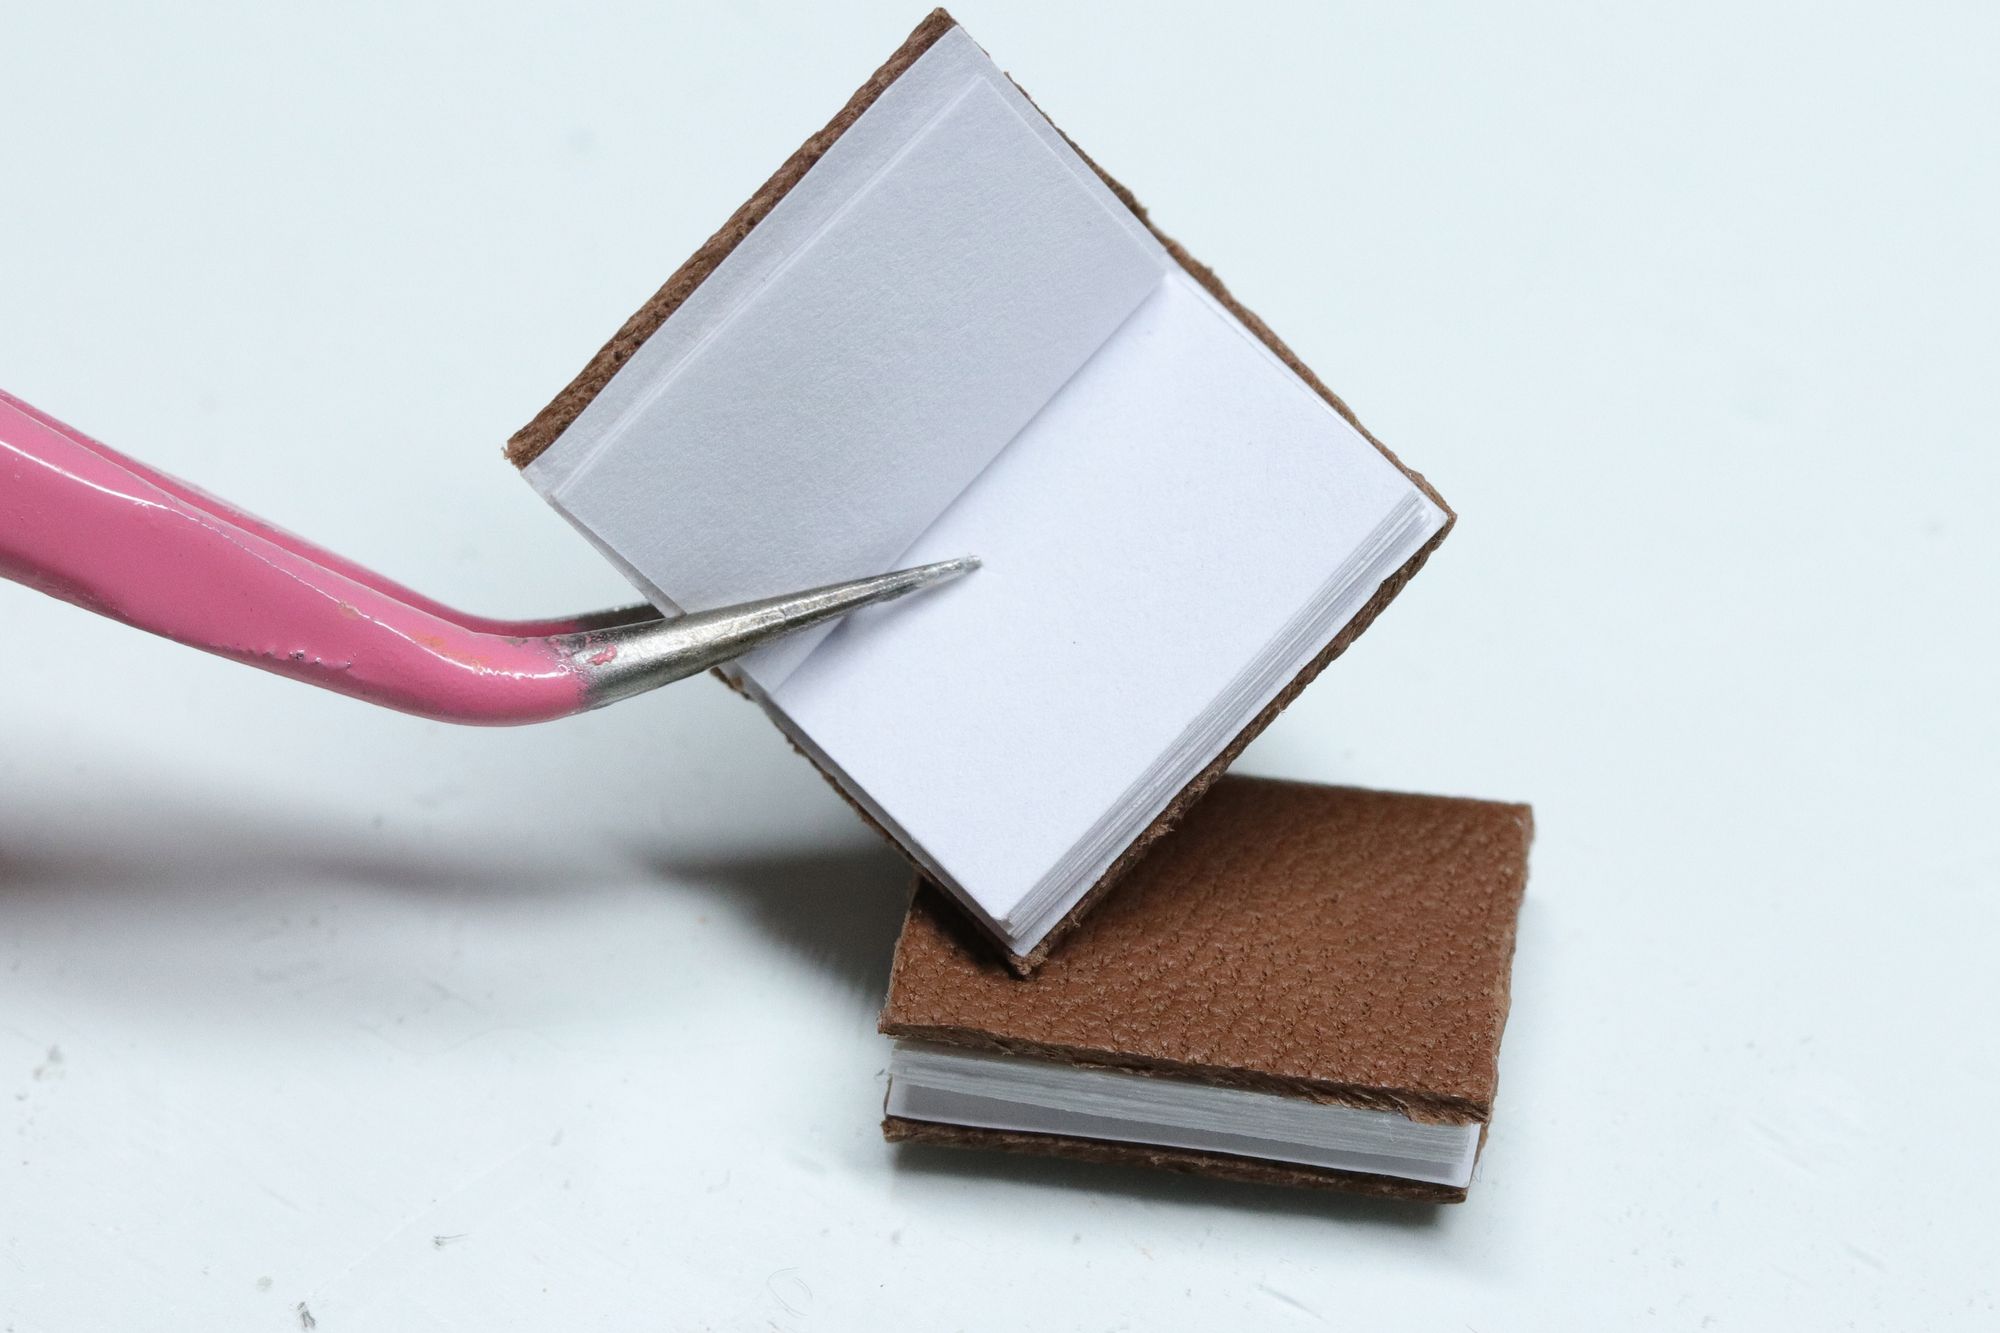
Cut out a piece of the fabric you’ve chosen for the cover and glue it to the front and back, leaving the spine untouched to allow for more movement. If you’re using thinner fabric (like thin cotton) you can fold the fabric around the edges of the book for a very neat finish.
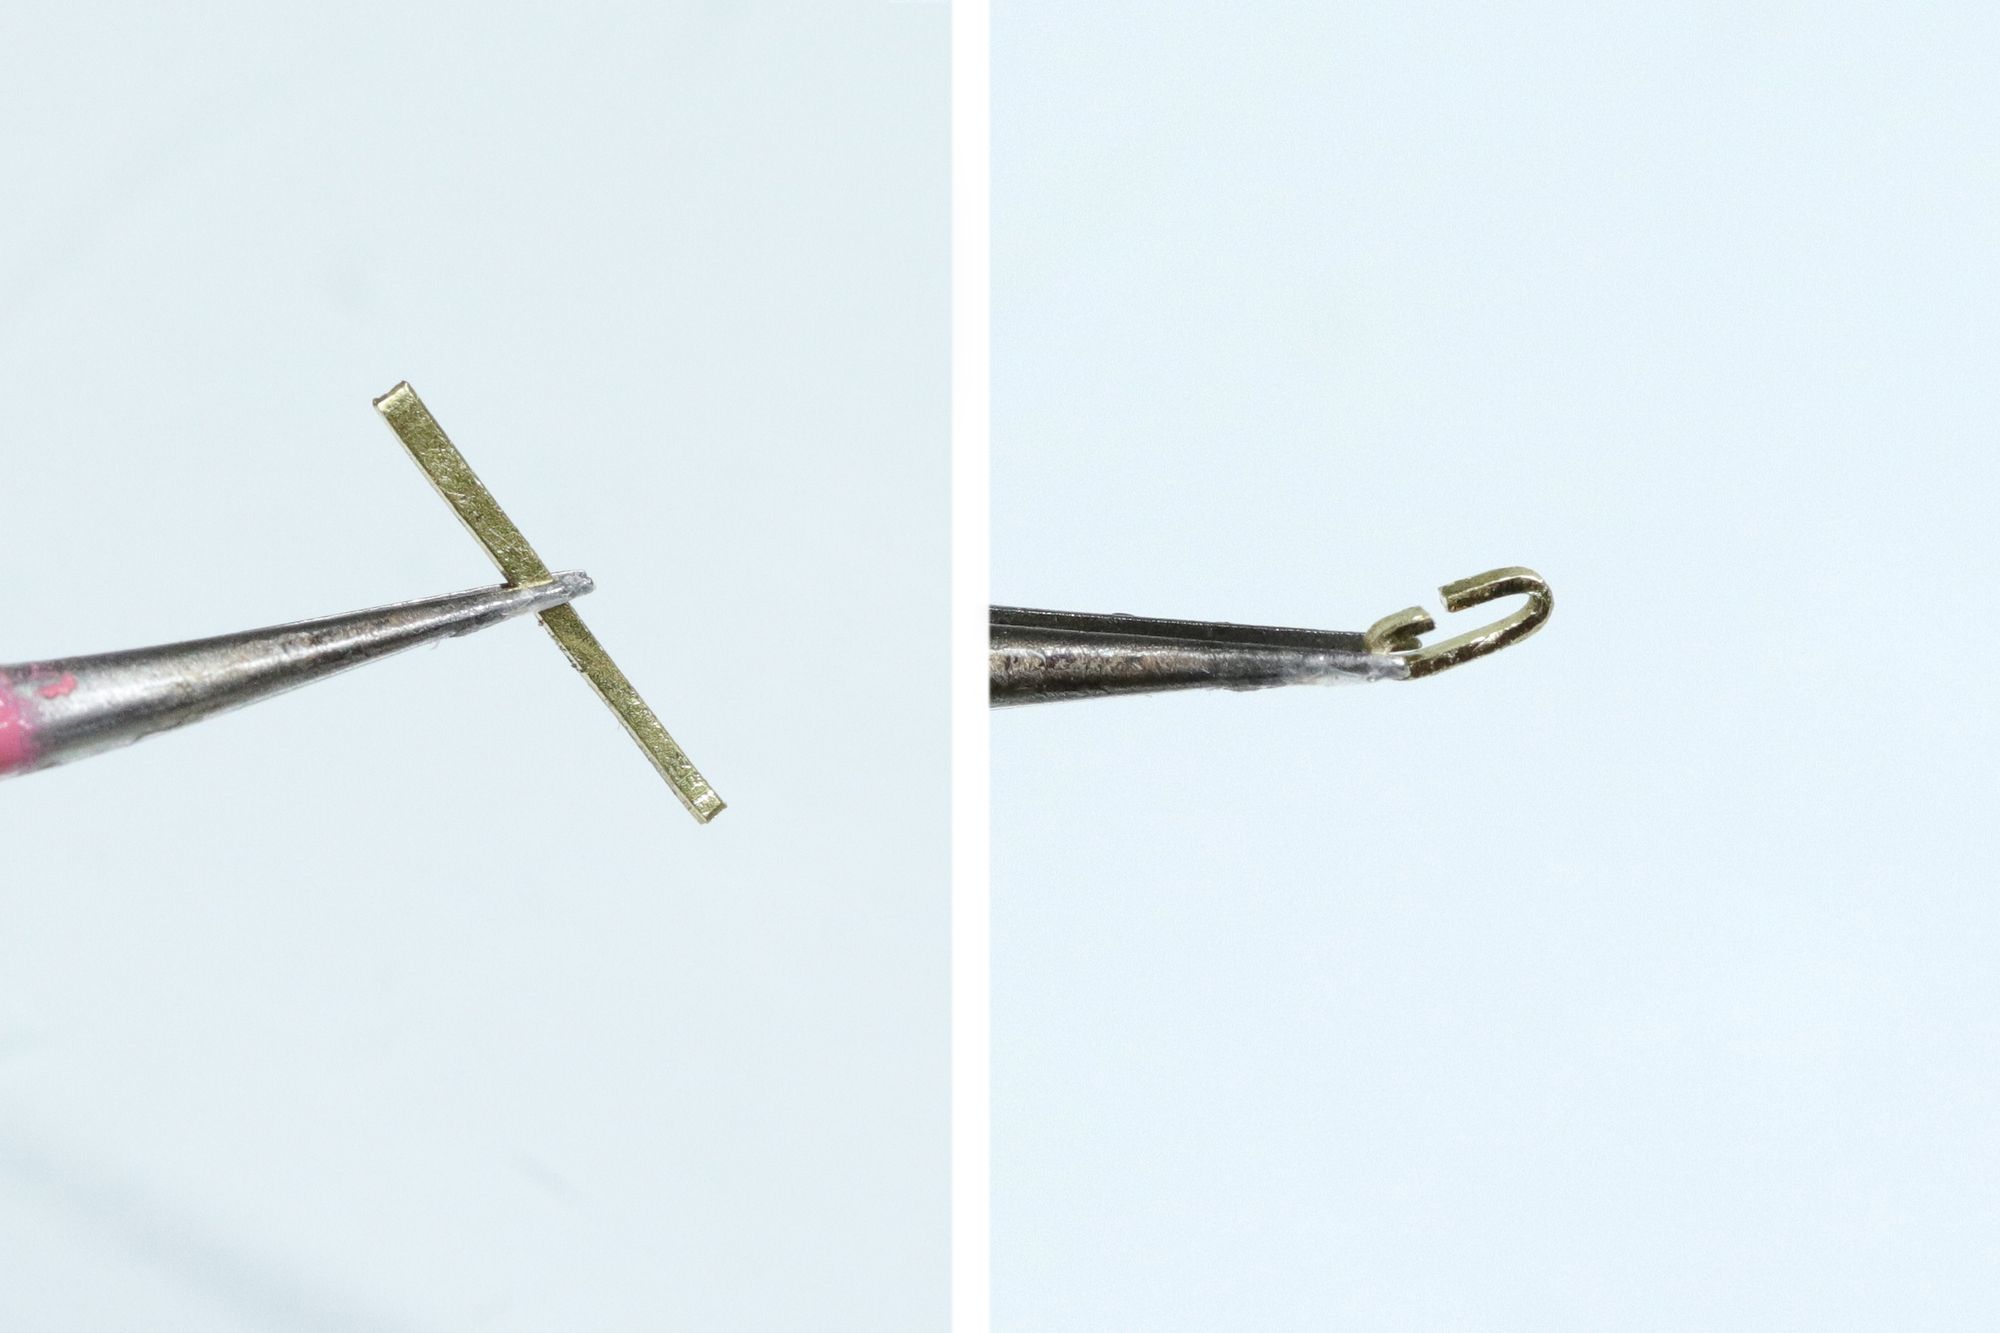
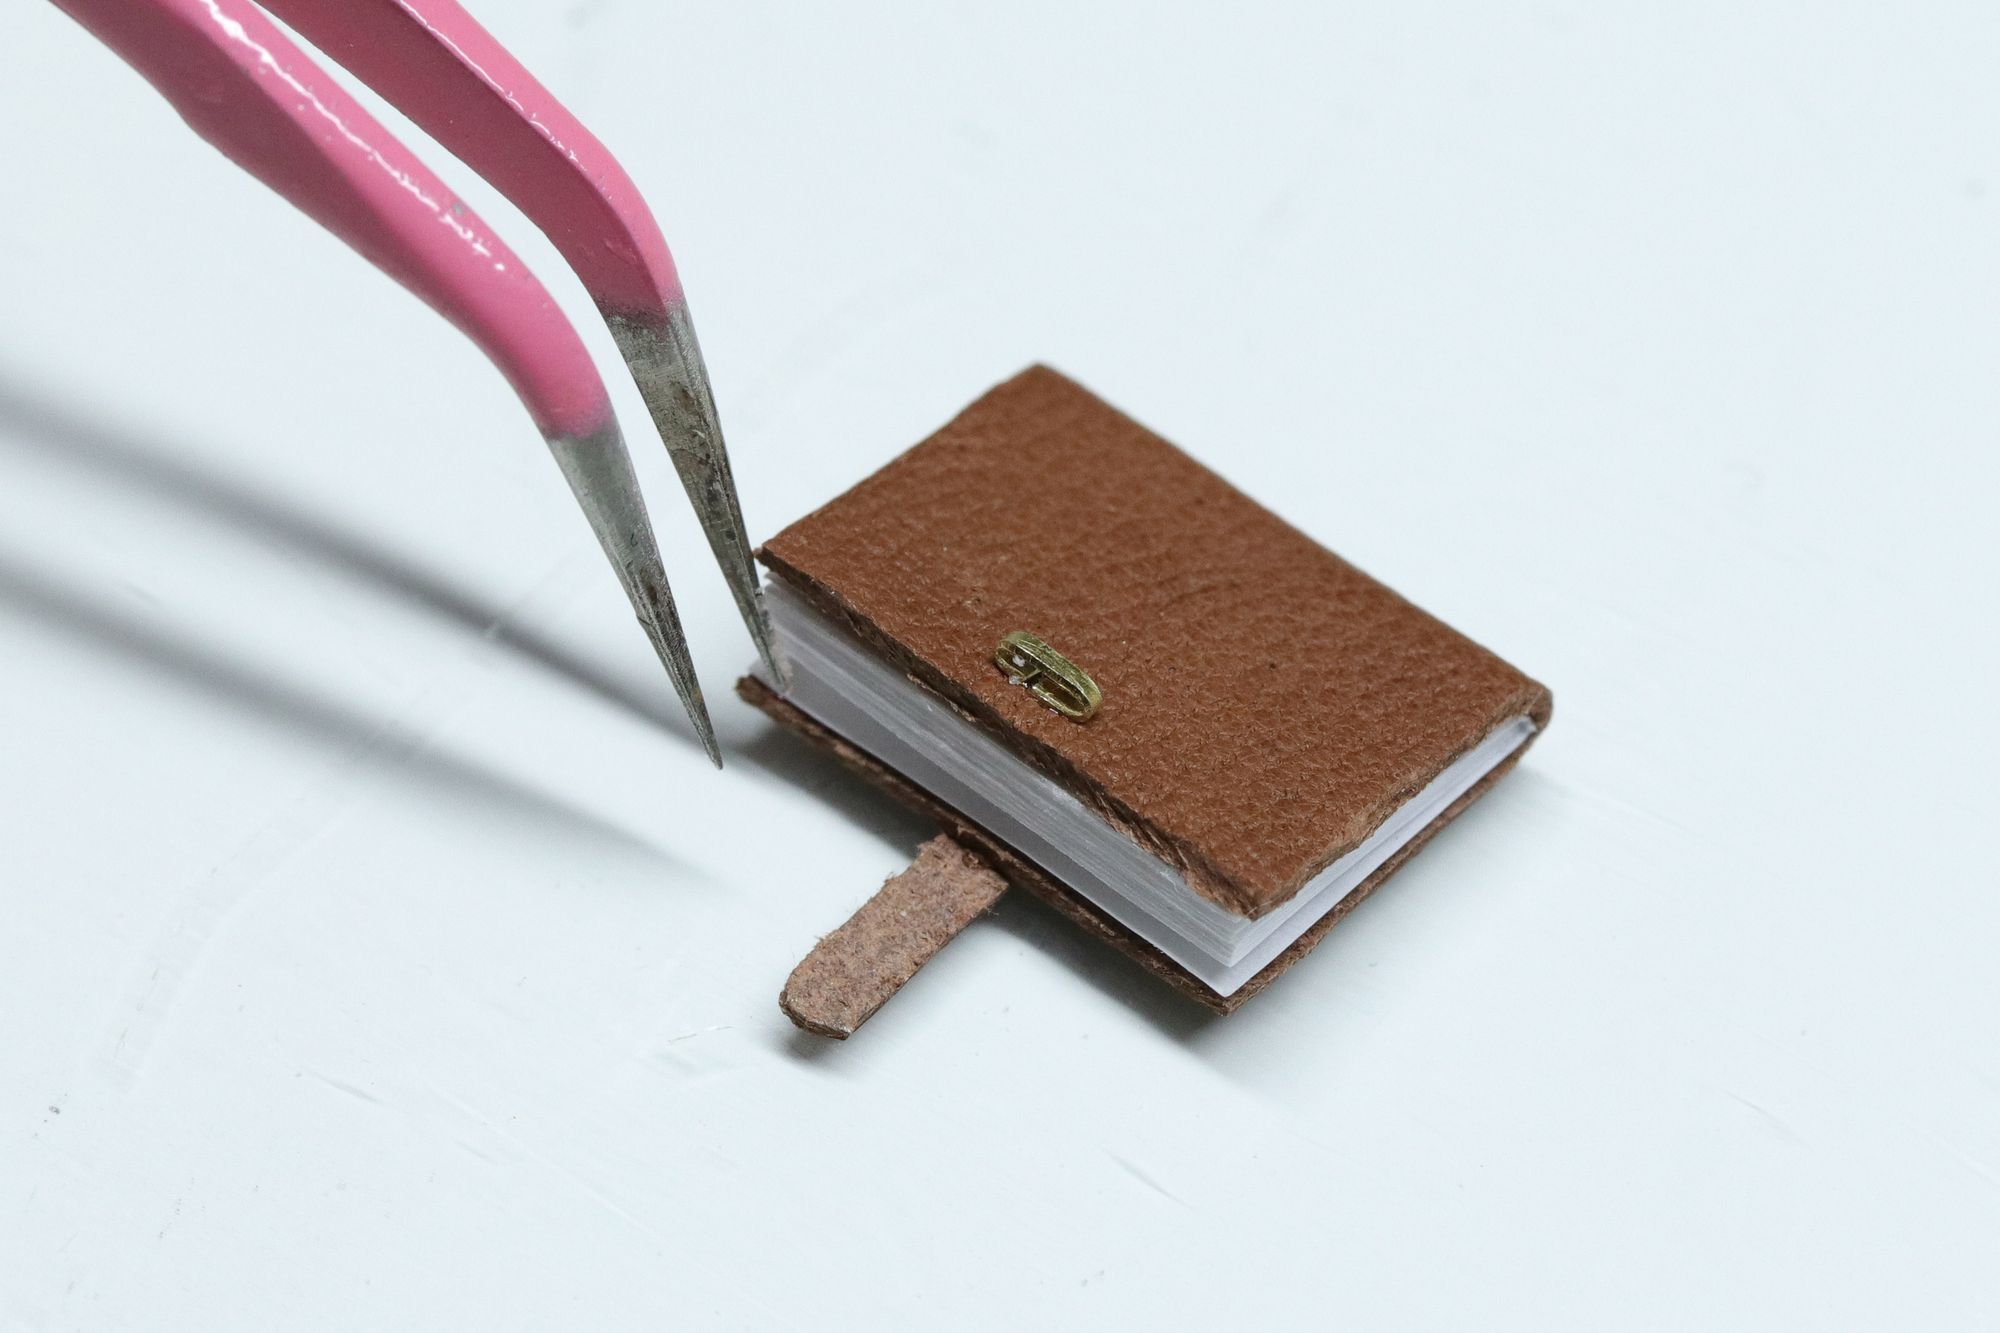
Step 7, 8 & 9: To finish off, I cut a thin strip of metal and folded it using my tweezers to create the ‘buckle’. Glue this to the front of the book — this can easily be replaced with a buckle made from fabric, ribbon, thread or similar.
Cut a strip of the fabric you used for the cover. Glue it to the back, close to the edge. You can then push it through the buckle to properly close the notebook.
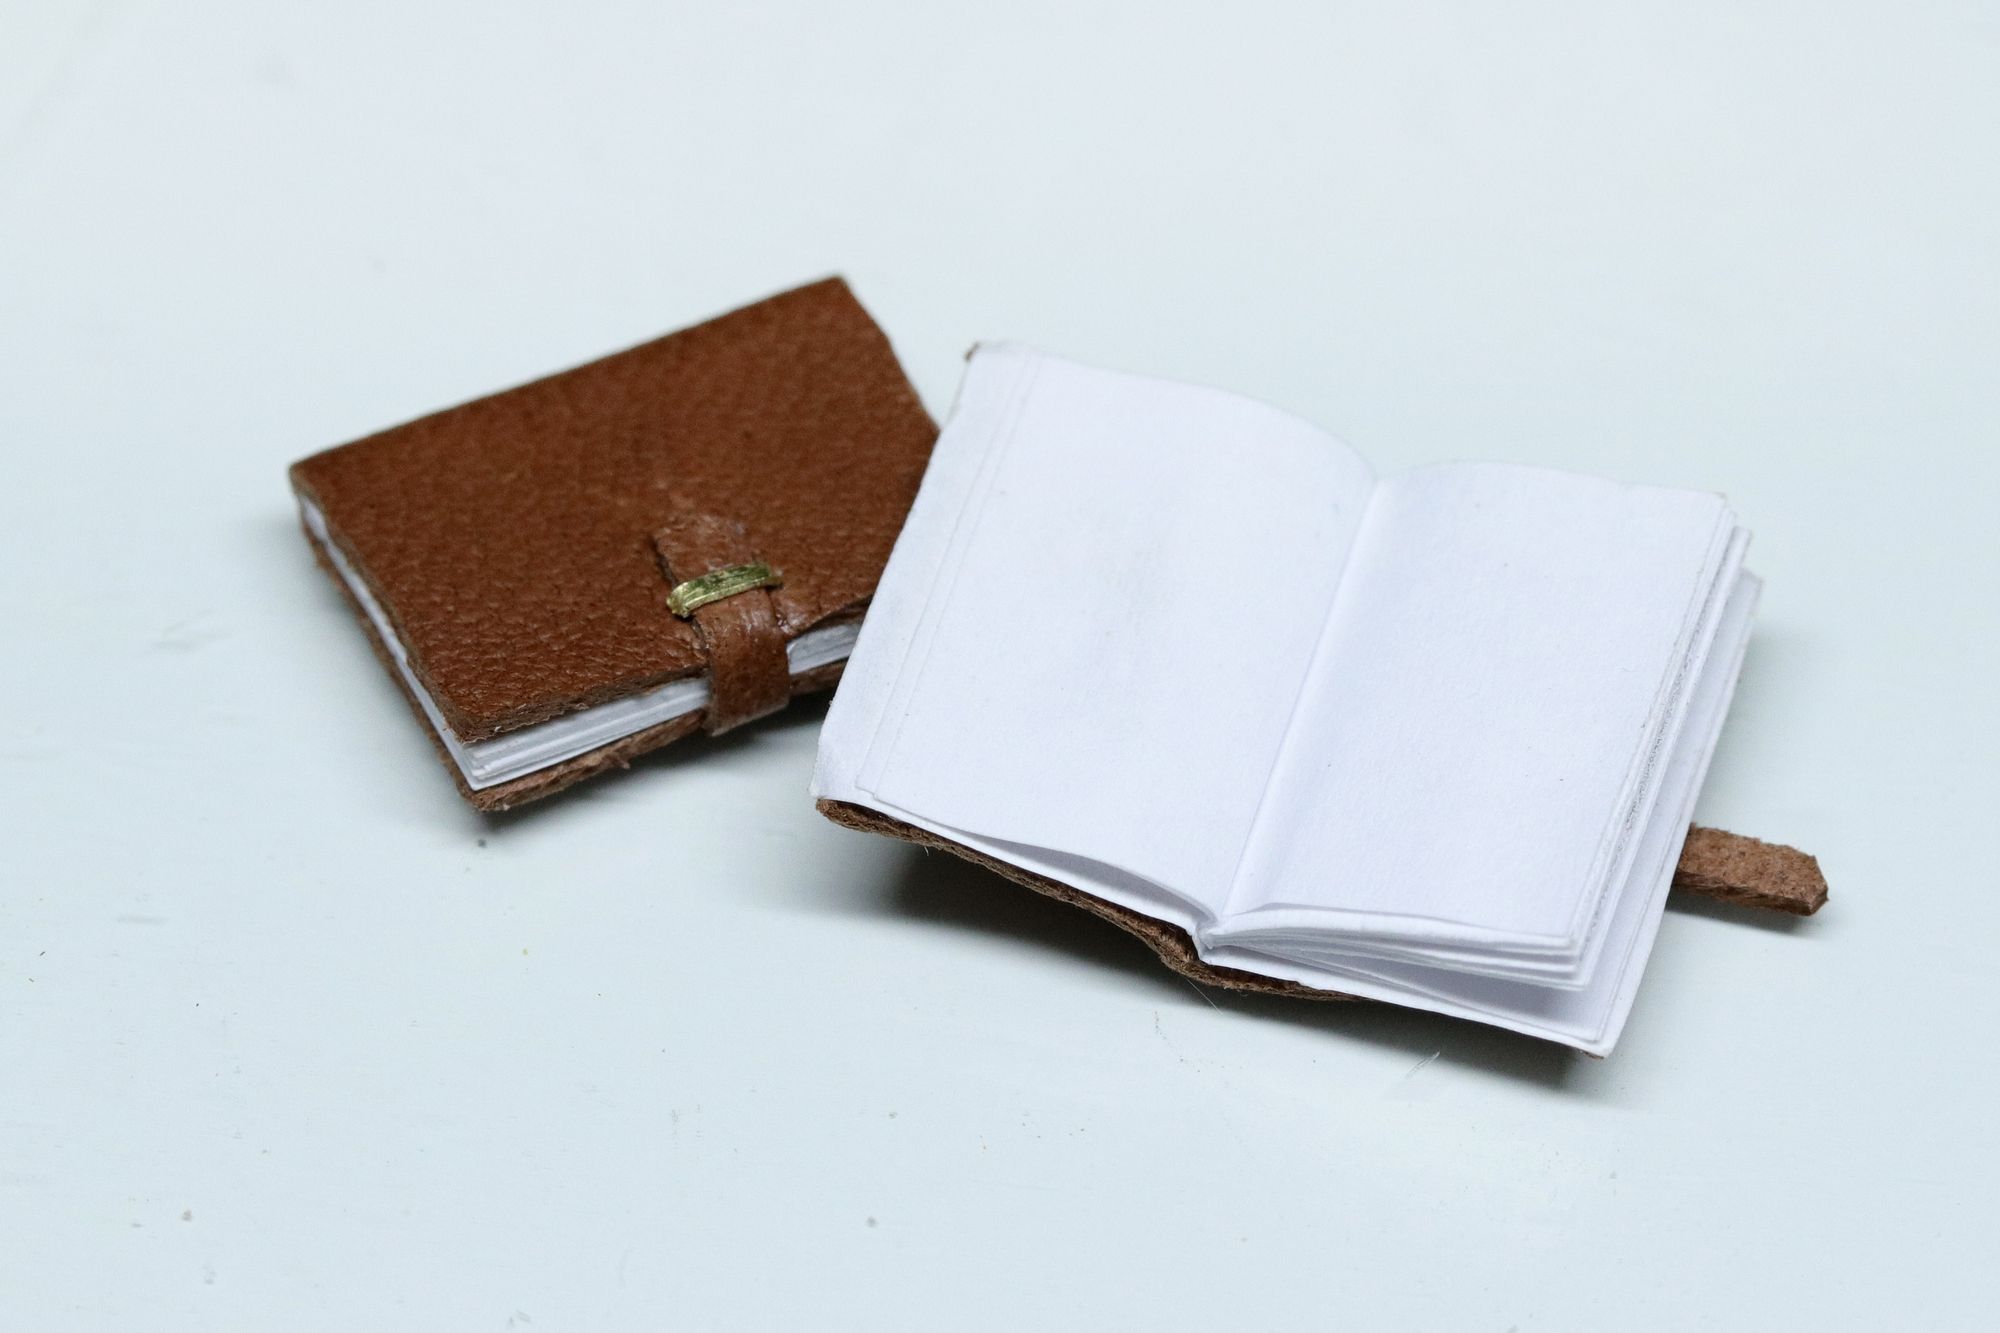
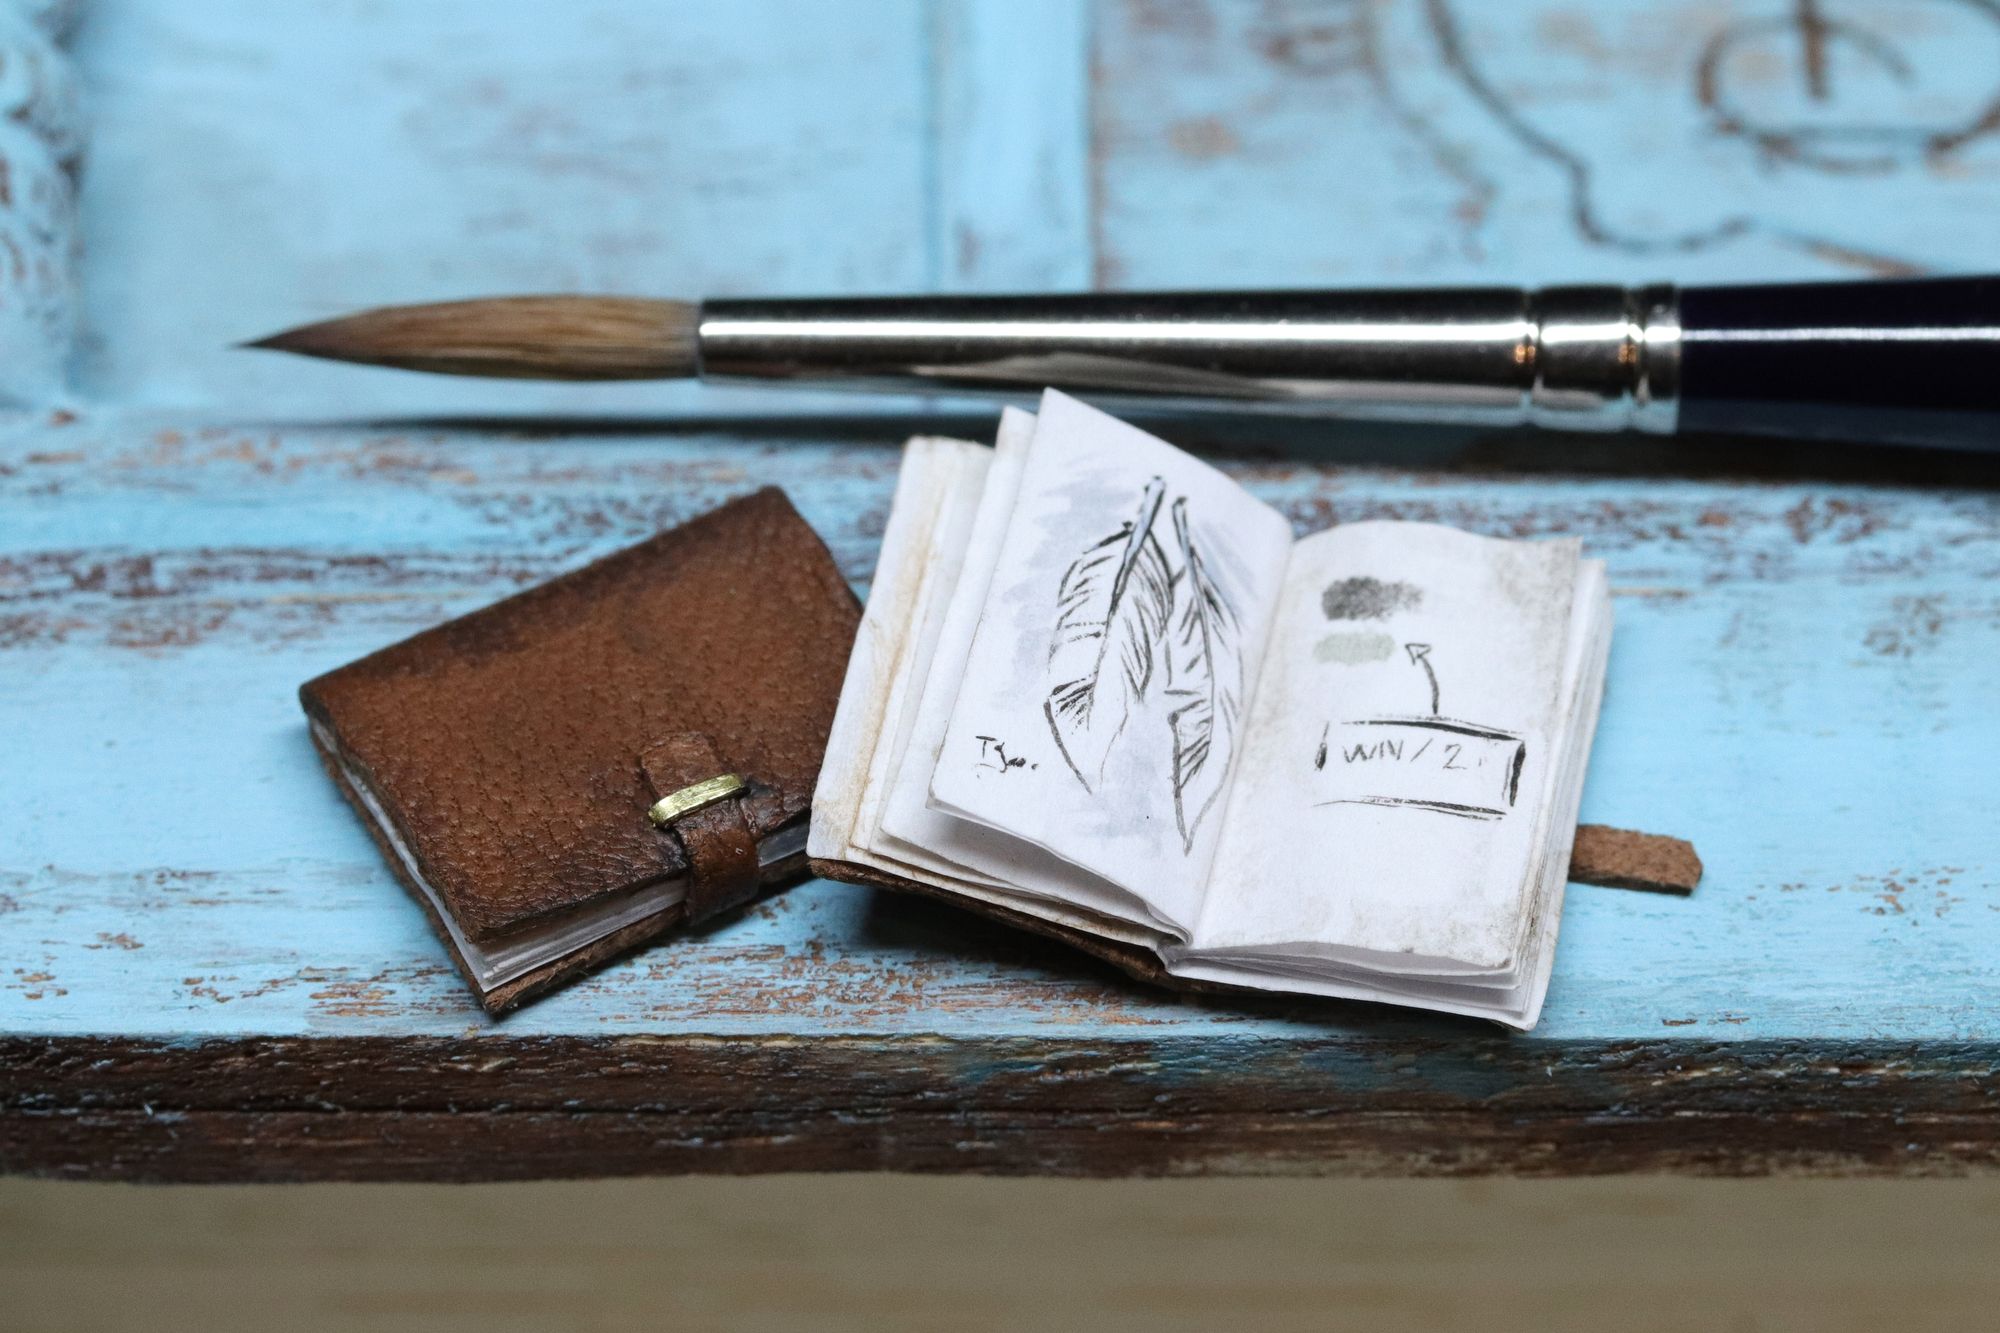
At this point your book is done. Feel free to play around with adding details such as an image or name tag on the front. I chose to add some watered down, dark brown, acrylic paint to the edges and pages for a slightly weathered look.
I chose to do a quick doodle using watercolours in one of my books, but if you don’t wish to do this by hand, you can print out some designs/pages and use those instead or leave it blank if you prefer.
Tanja makes beautiful miniatures. Visit her website.