by Karyn Smith
You will need: 1” x 1⁄4” balsa and basswood each | 1” small-faced working watch piece | Two 1 1⁄4” x 1⁄4” turned wood pieces | Various size pieces of thin balsawood | 3 strong craft pins 1” x 1” curtain weight | 1 crimping bead White (or black) enamel paint | Gold metallic paint (pen) | X-Acto mitre box and saw | X-Acto knife | Rifflers and ultra fine sand paper * | Small metal ruler and pencil | Wood glue and super glue | Paintbrush (invest in quality and sizes) Paint thinner (required for cleaning paints)
* Dremel is the best help with various size bit. * Have a good variety of sanding blocks and nail files on hand
Preparing materials for assembly
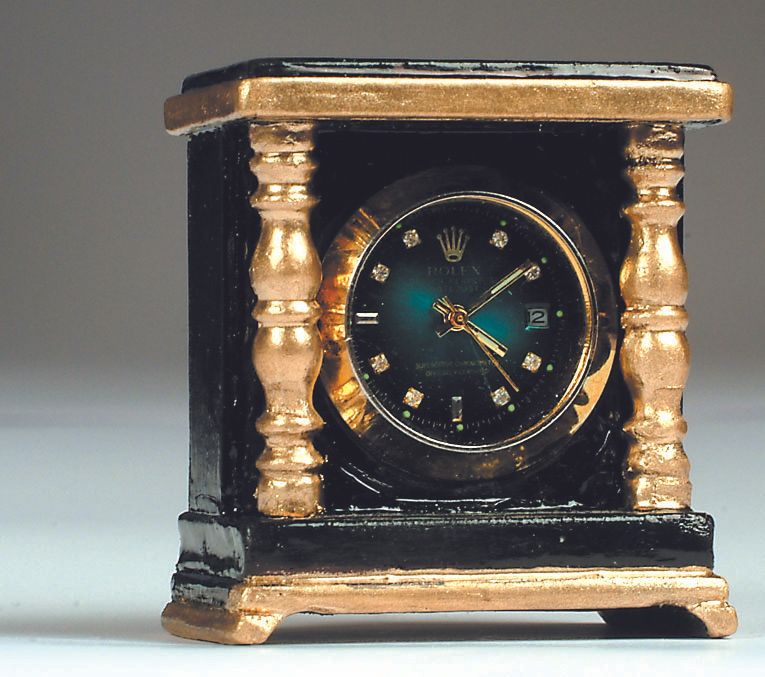
Larger watches require wider wood. You can also paint the pieces prior to assembly.
Cut two pieces of basswood at 11⁄2” in length (for top and bottom pieces).
Cut two pieces of basswood, one piece balsawood at 1 1⁄4” in length (side, front and back pieces).
Take one piece of basswood from Step #2 turn it sideways, cut in half so you have two pieces that are 1⁄2” x 1 1⁄4”. (*Double check this width to thickness of watch.)
Remove watchband and their pins, then back of watch. Determine if watch back is same size as watch face. Make face opening by tracing the back; centre on piece of balsawood from Step #2 (front piece). *Keep remainder of watch out of work area.
The other piece of bass- wood from Step #2 (back/door) will require some sanding to fit nicely. One (1 1⁄4” long) side of this “door” piece should be sanded so the sharp edges are“rounded.” This will be the side where hinge pin is placed and will ensure that the door opens smoothly.
On this same sanded side of door piece, to fit the pin hinge, drill a hole in the bottom of each end (NOT too close to edges). Drill deep enough to ensure a sturdy hinge. Drill another hole on the opposite side near edge for “door knob.”
To ensure more even sanding, use the sanding block to smooth the cut edges of wood. Lightly sand flat sides of wood pieces. For the best paint finish, always finish with the finest grit and wipe off dust.
Measure two pieces of turned wood for front of clock for a good fit. Turned wood should be sanded to the same length as side pieces. Later, when attaching turned pieces, the width can be sanded flat on one side if exceeding available space.
Cut the circle from the front piece. One or more holes can be drilled through the centre, and then cut away small pieces with X-acto knife. Or, using the Dremel, drill a larger hole to assist in removing circle. Remember to go slowly and carefully near mark. Sand the edge to a smooth finish.
Optional: For a “bevelled” edge sand opening at an angle.
Putting it all together
Apply the following methods for assembly.
ALWAYS pre-fit piece prior to gluing in place.
Apply a drop of wood glue and spread with a toothpick or finger.
Apply pressure lightly for a few seconds to secure hold.
Optional: Use tiny drop of super glue to ensure hold. (Only apply to inside areas of project.)
Wipe away all excess glue with Q-tip or toothpick.
Following the method described above, glue a side piece to the bottom piece (from Step #1), applying glue to short edge of the side piece.
With side secure, pre-fit front and other side (sand to fit if needed). Apply glue to front piece down the edge of one side and along the bottom edge; hold in place; wipe clean.
When secure, glue the remaining “side” with the same care. Take a moment to fit watch inside the area and the back/door piece to ensure a good fit then remove.
Put a pin through the hole for knob; cut and loop end of pin. As an alternative, a bead can be put on the pin first with a drop of super glue, then push pin through hole and cut off excess pin. (A temporary “knob” is advised until painting is complete and dried.)
Push a pin into the drilled holes of back/door, slightly snug so as not to fall out. Cut the remaining portion off of pins leaving enough of the pin’s length to go into the top and bottom piece. Positioning door flush and even with the edge of side pieces, press down slightly until the end of pin has made a dent in the wood “marking” the spot on bottom piece.
With a pencil, mark the spot made by the pin then drill a hole for remaining portion of pin.
Holding the door in place (turning project upside down), position the top piece in place allowing the pin to mark the spot to be drilled. Remove the pins from the door piece and apply a tiny bit of super glue to one end of each pin then re-insert the glued end of pins into the door piece. When glue is completely dry insert the door/pin into the bottom piece, and apply glue to the top piece (except the edge where door is) and assemble.
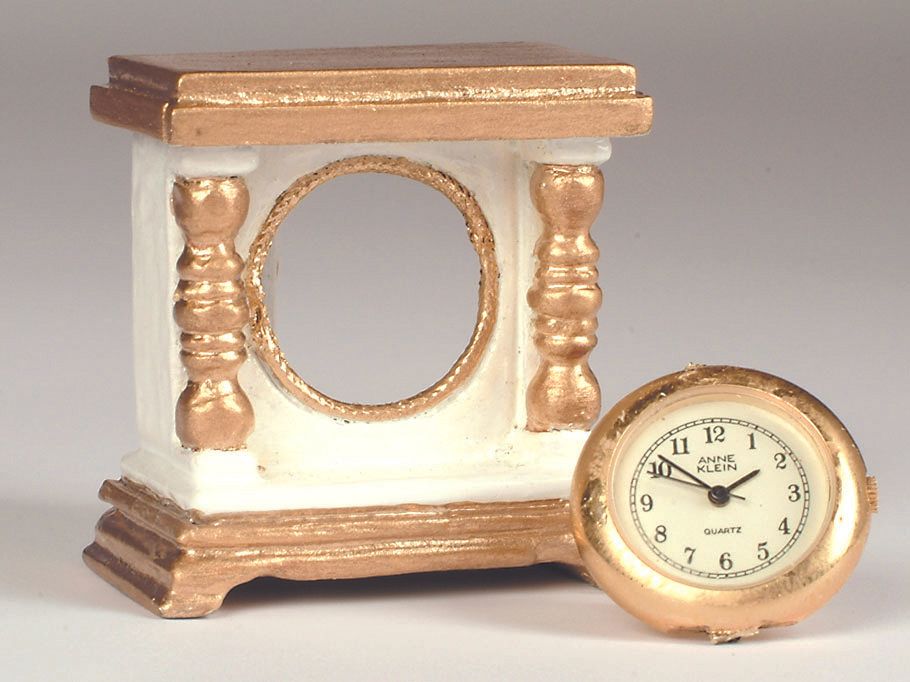
Pre-fit and glue turned pieces on front at each side of the cut out circle.
Centre and glue the curtain weight to underneath side of clock bottom.
Using various sizes of balsawood measure, cut, and glue two pieces for the underneath side, on each side of curtain weight. Pieces should extend slightly farther out than all edges of the bottom.
Repeat this process using even smaller wood for placement on previous two pieces. Sand and shape the “foot” pieces to desired look.
Using a very small wood trim carefully measure, cut, and glue a lower edge trim around the top piece of the clock. Apply first piece to the front, then side pieces, then back. Lightly sand the edges.
Lightly sand entire surfaces, clean up and sand any rough edges or glue. Brush off with a soft brush (toothbrush is good). Take your time painting, wait between coats and touch ups. Open door often to ensure it does not become painted shut!
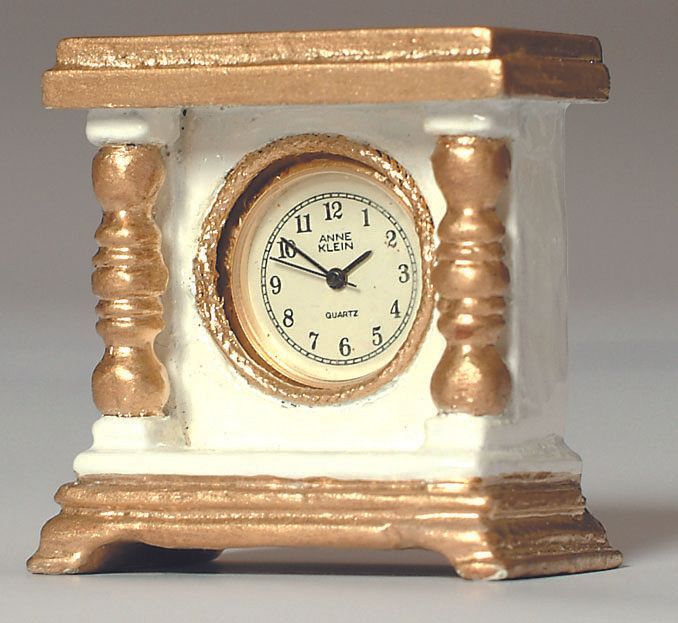
When project is completely dry open the door and place the watch piece inside making sure watch face is straight close the door. If the fit is too snug leave the back off the watch piece.
TOP TIP
For future reference it is a good idea to write the battery number on the bottom of the clock and keep an extra battery on hand.
What to watch
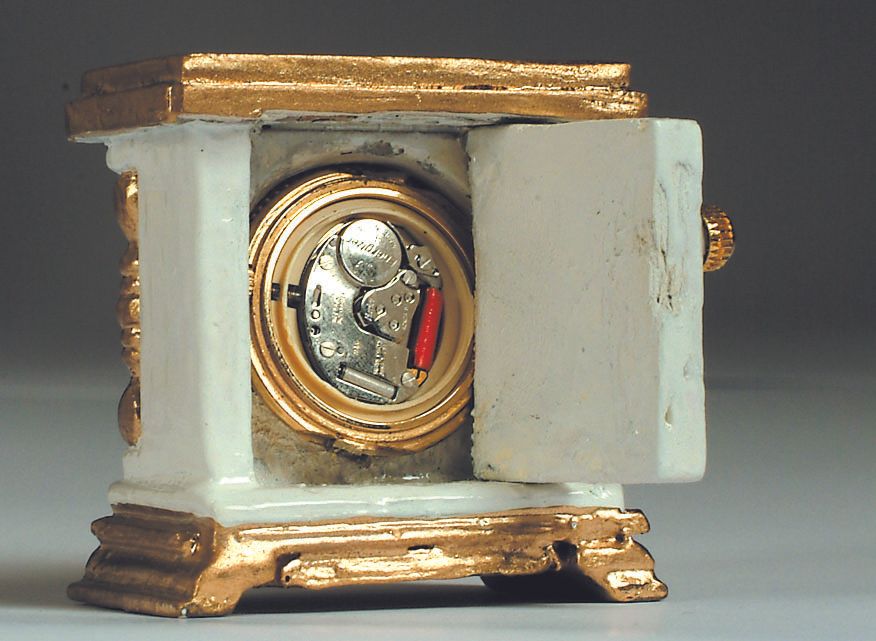
Some watches will not work for this project as described and may require the removal of the actual working portion from the watch casing. Follow these steps to remove:
After removing back of watch, with needle-nose pliers gently pull the (time setting) pin completely out.
Carefully remove the working portion (with plastic protector) then replace the pin.
If crystal face is not removable, a substitute piece of glass or plastic should be fitted into the new “clock” to protect face and moving parts.