by Jane Harrop
You will have noticed just how popular all the ‘house style’ programmes are on tv at the moment. You will also have observed, if you watch these programmes, that one of the current fashions is to distress furniture and walls and the like, which, roughly translated, means to make something ‘look worn and old’.
On a visit to a fair recently, I was aware that more stands than ever before had pieces of ‘distressed furniture’ added to their collection.
Nowadays there are a huge amount of different products on the market to help us produce an instant aged effect. I personally find that the only problem with them is that they are not designed for the miniaturist, and usually are only available in huge jars or cans that can therefore make the process expensive.
I am particularly keen on distressing in miniature and am always very interested in any new product or idea that comes on to the market. From my experiences and expensive mistakes! Here are some of my tips and ideas to help you on your way!
Points to consider before starting
- Think about what conditions the furniture may have been exposed to: general wear and tear, woodworm, heat, sunlight, excessive scrubbing.
- Think where the damage would be on the wood: drawer knobs, table legs, tabletops.
- Think about how you are going to simulate the damage marks: Sandpaper, steelwool, craft knife, hammer!
- Think what medium you are going to use to further simulate the wear and tear or damage.
Paints
Use water-based acrylic, there are several makes on the market, all very similar, or the small sample pots of water based emulsion. The beauty of the water-based acrylic paints are that they can be used either directly from the bottle or watered down and used as a wash, they are easily mixable and also dry fairly quickly. They are also non-toxic and can be used on a host of other surfaces.
If you are impatient like me and like to be on to the next stage quickly, water-based acrylics are the paint for you. However, if you are distressing, you won’t get an aged finish from using these paints alone.
Flaking and worn paint effects
You should first of all apply an even layer of paint and leave to dry. Next take a wax candle and rub over the areas, where paint may have been rubbed or flaked away.
Next take a different colour of paint, and paint an even layer over the whole area again. Once totally dry, take a fine piece of sandpaper and gently rub your item. You will find that the areas where the wax candle had been applied will easily be removed by your sanding action, to reveal the basecoat of paint. (This method can be used by rubbing wax over bare or stained wood, giving it a coat of paint and then sanding.)
Alternatively you could repeat the painting, wax, painting pattern using many layers of paint to achieve a look of numerous years of painting.
To complete the effect, you will need to use an antiquing medium (again non-toxic) which is used to simulate the build up of grime over the years and I find it works well in con junction with this flaking and worn paint effect method. When I first purchased my bottle of ‘Apple Butter Brown’ by Folk Art Antiquing Medium, I must admit I didn’t like it at all. I do feel with this product that the instructions don’t do the medium justice.
Here is my method of using the ‘Apple Butter Brown’ Antiquing Medium:
1. Follow the above method for creating a flaking and worn paint effect.
2. Once totally dry, take a large brush and start to brush the medium on to your article, paying particular attention to the cracks and joints etc, in the wood, (in fact any- where grime would have built up and been difficult to clean).
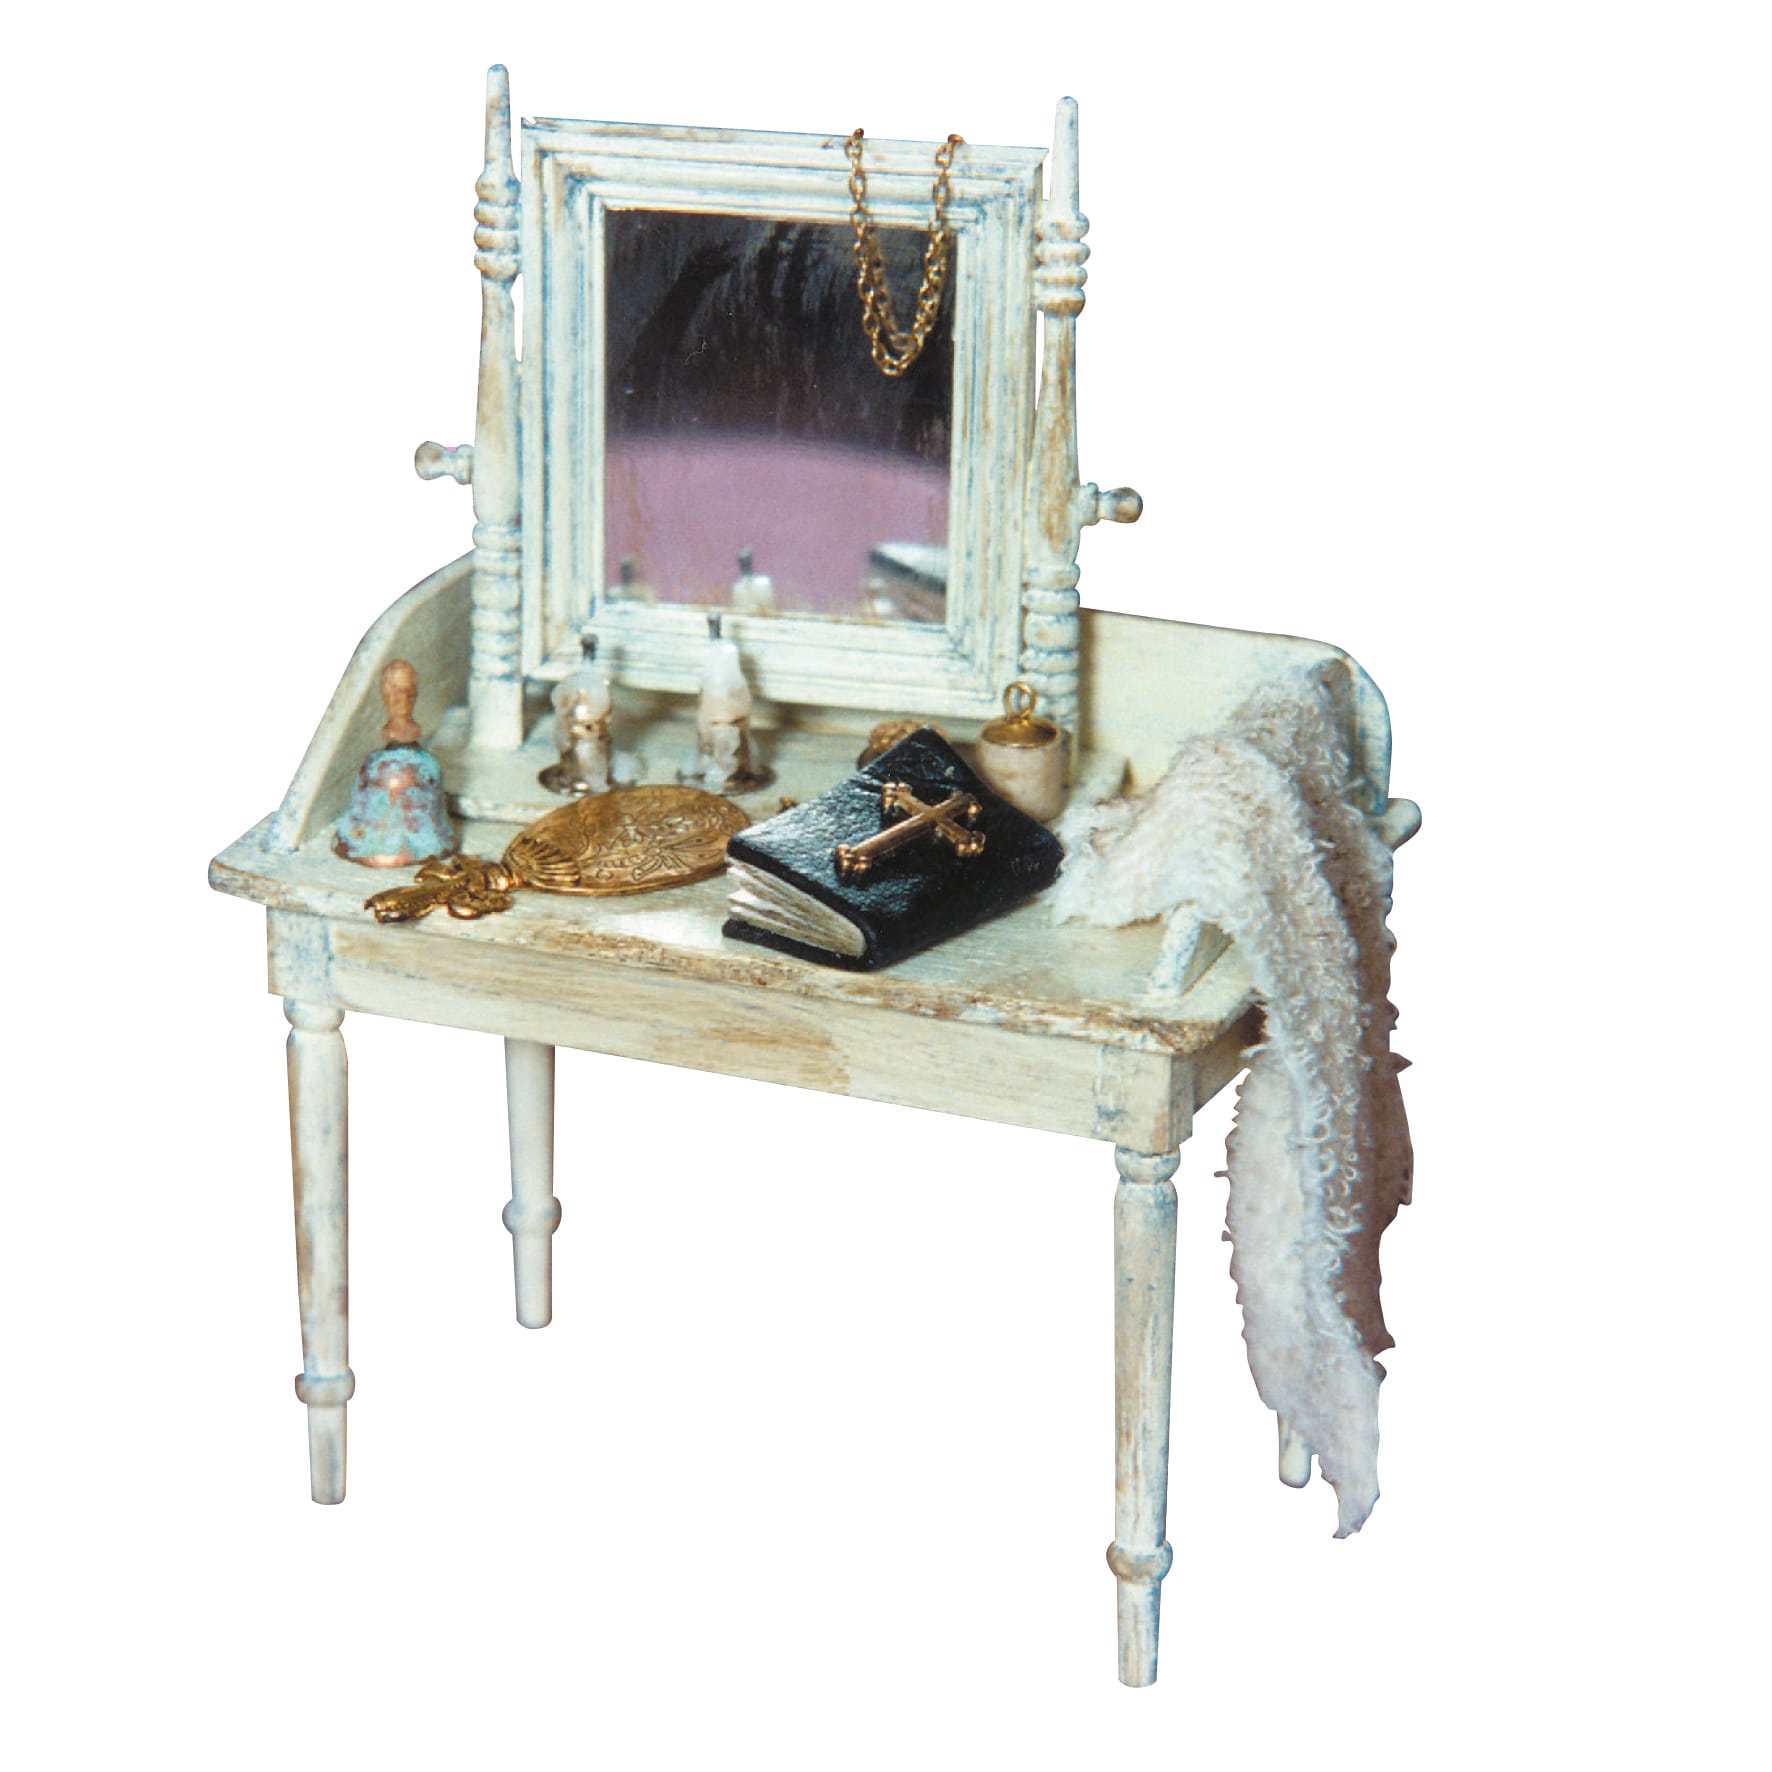
3. Once you have done this and before the medium dries (it doesn’t matter if you haven’t painted the whole of the article), take a piece of slightly dampened cloth or kitchen roll (it must not be wet!) and start to remove the medium, by using circular motions. You will find that probably most of the medium is removed, however, it will have tended to remain in the less accessible areas, such as the cracks and joints etc. And also slightly stained some of the bare-wood and painted areas. I feel the advantage of this product is that you can control the depth of colour, making an article look very grimy like the green chair in the photograph, or by just slightly taking away that look of new wood and new paint, like the cream chair in the photograph.
Crackle effect
To achieve a crackle effect, the easiest and cheapest way is to use water-based acrylic paints and a water-based crackle medium (again there are several makes available, all of which are very similar and usually priced around £1.99, they are also non-toxic). The finished effect can be quite stunning However, with some miniature items (such as knobs and fine turned legs etc) the results can sometimes be a little bit disappointing as the medium does not seem to work quite as well on very small areas. As with the antiquing medium, I feel the instructions on the bottle lets the product down.
Here is my method for achieving good results using a non-toxic water-based crackle medium.
1. Paint your item with an even layer of water-based acrylic paint and leave to dry.
2. Next you will need to brush an even coat of crackle medium over your product. One word of warning here, the medium is quite thick, and if you use too much, your finished article will end up all bumpy. Leave the crackle medium to dry for half an hour or so, this will depend on the size of your item.
3. Once dry, paint your article with an even layer of a different colour of water-based acrylic paint.
IMPORTANT: Only paint over a section once. If you go over an area twice, you will not get the crackle finish. Even though there may be nothing wrong with it, if your acrylic paint has gone thick, (it may do if it is old) I recommend that you slightly water it down before painting on top of the crackle medium. As the topcoat of paint starts to dry, you will notice the crackle effect starting to occur.
4. I like to then give my articles a coat of acrylic water-based varnish, to protect the surface. Once totally dry, rub a small amount of mid tan shoe polish over the item to dull the surface and give an aged appearance. You will find that some will also settle in the cracks.
Bleached or scrubbed effect
This effect can be achieved in a number of ways. To start off with you will need your article to either be unpainted or lightly stained. The easiest and cheapest way, is to wash over your article with a very dilute white/pale grey water-based acrylic or emulsion paint solution. As long as your paint is very dilute the effect can be controlled and built up to your requirements.
Another method is to purchase a liming wax that is used specifically for this bleached effect. This product is applied by using fine steel wool to either an unpainted, stained or dyed article. Once covered, you take a new piece of fine steel wool and start to remove the liming wax.
As the excess paste is removed, you will see that some of the liming wax has settled into the grain of the wood. I also liked this product, because of the lovely sheen that is produced.
Note: This product works particularly well with pronounced grain woods.
Alternatively, why not have a go using a white shoe polish, again removing excess polish after application, I think you may be quite pleased with the results. Also, experiment using different materials to remove the wax, or polish, eg very fine sandpaper, kitchen towel etc.
Antiquing wash
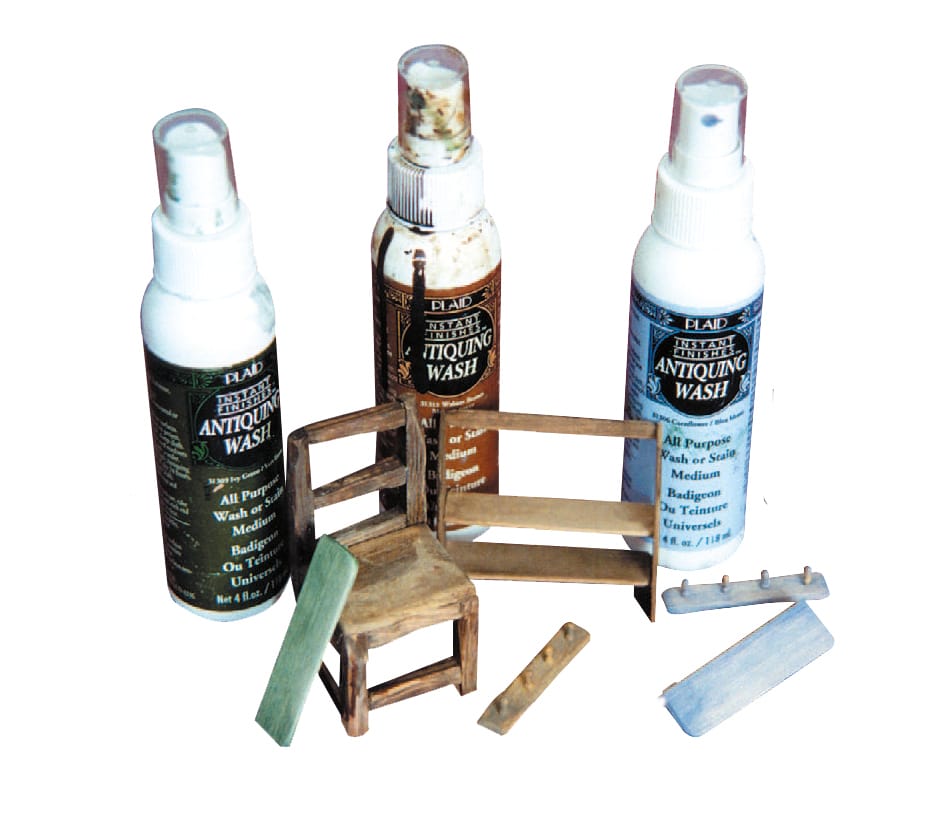
Even though this article was meant to be about distressed paint effects, I couldn’t leave out my favourite antiquing product, which is ‘Walnut Brown Antiquing Wash’ by Plaid.
I was on holiday in the Isle of Man when I bought the product, along with a couple of other colours. The non-toxic label swayed me because I like to be able to take them into my classes to be used without all the bother of students having to go outside to use them.
The product can either be used as a stain or as a wash. To stain an item you obviously just brush over the bare wood article and leave to dry. To use as a wash, you have to brush over the bare wood article with the product, then immediately take a damp cloth and remove any excess stain and rubbing away areas which you want to be definitely lighter, eg edges and corners etc. You will find that the deeper shade of the wash settles in the grain of the wood. The result is a lovely soft distressed finish.
I have also used the washes on top of wooden articles, painted with water-based acrylic paints, the distressed finish has then been completed by using the ‘Apple Butter Brown’ antiquing medium.
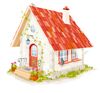
However! Perhaps my most important find with the Walnut Brown Antiquing Wash is that if lightly painted over any metal items, it produces an instant tarnished effect. I had tried to achieve this effect for ages, never getting it quite right up until purchasing my bottle of Antiquing Wash. It is also brilliant for giving mirrors and windows that old grimy look. The best way to achieve this, is to lightly paint a layer of the wash over the whole of the area, then before it dries, take a tissue and start to remove the wash, working from the middle outwards, using a circular motion.